Updates: Watch a time lapse tutorial of the process here and see the full room reveal here!
Have any plain, flat doors in your house? This tutorial is for you!
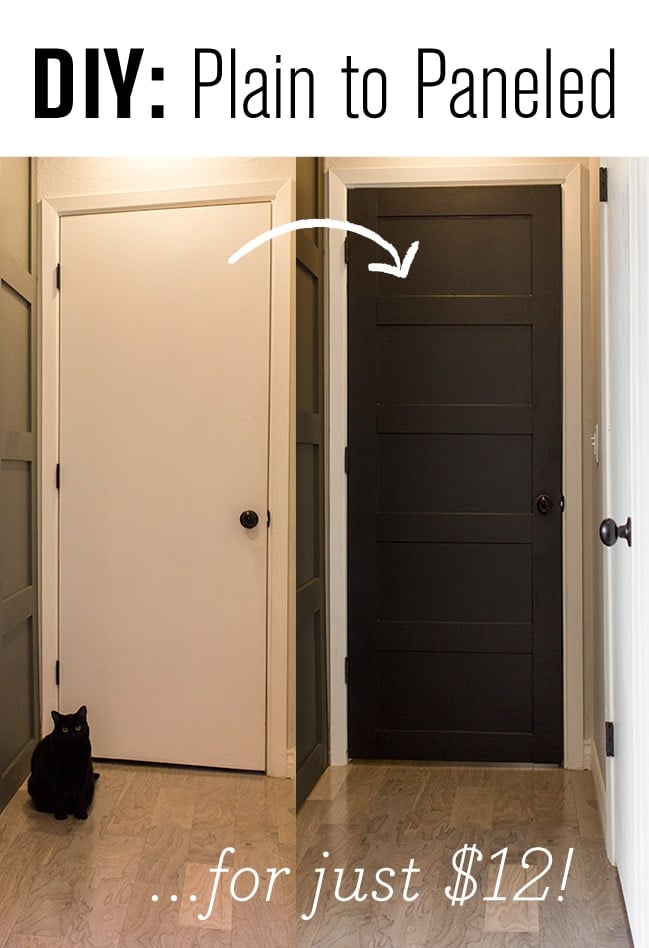
Here’s what you’ll need for this project (per one standard door):
Materials
Tools
- Miter saw
- Table saw
- Drill
- 2 1/8″ hole saw
- Finish nailer
- Electric sander
- Paint brush and roller (or sprayer)
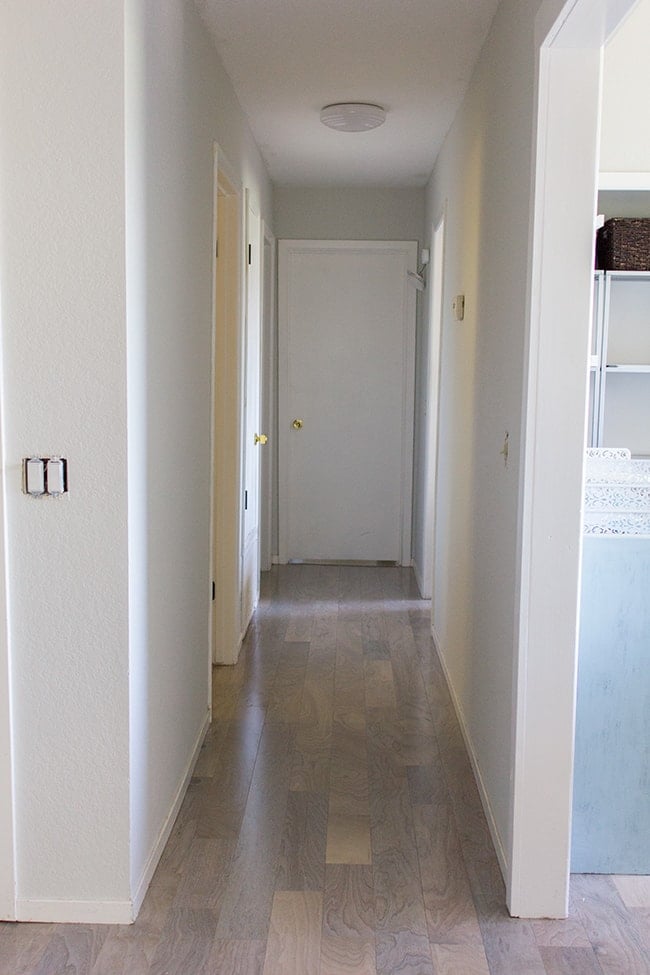
I spent a lot of time trying to figure out what to do about our doors. Here’s an old shot from the hallway:
After I painted the walls an almost white/super light gray shade, it just turned into the hallway of no color. I knew I needed to do something with the cheap hollow core doors but didn’t want to break the bank. In a perfect world, they would all be beautifully constructed and detailed solid wood, but there’s no way I’m spending that much on all of the doors in the house.
Then I gave our foyer closet door a makeover...
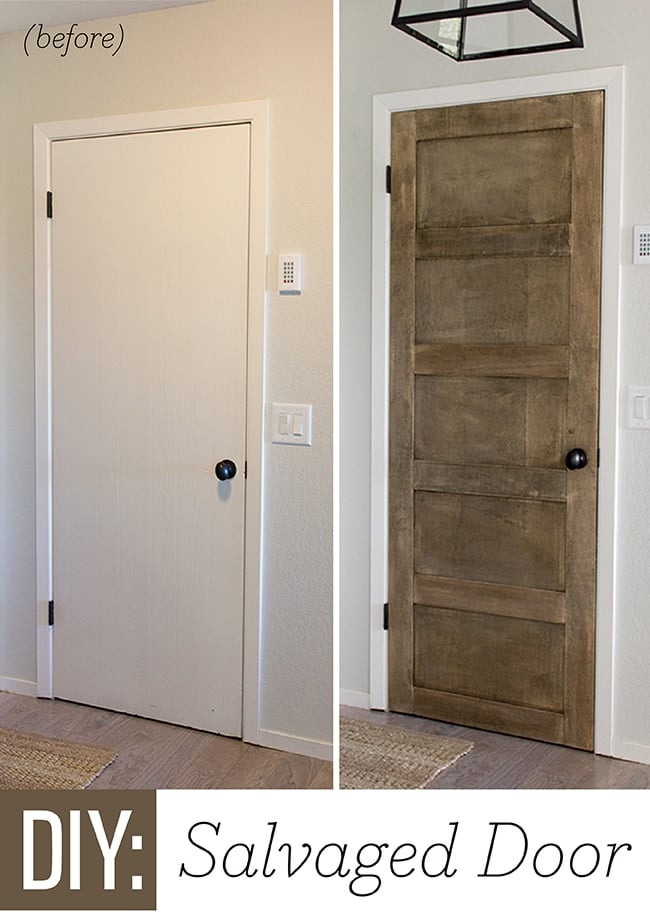
And I loved the results. It was simple enough to do to the rest of the doors in the house.
Fortunately, our bedroom door was completely smooth so I didn’t need to apply veneer over it (our foyer door had that faux wood grain texture which I covered with veneer). That meant that all I’d need for this project is a $12 piece of 1/4″ (actual thickness = 0.2″) plywood from Lowe’s. I ripped mine down into 4″ strips with a table saw (but I’ve also had luck asking Lowe’s to do this for me in the past!)
I’ve already covered the basic method for installing the strips which you can read about in my foyer door post:
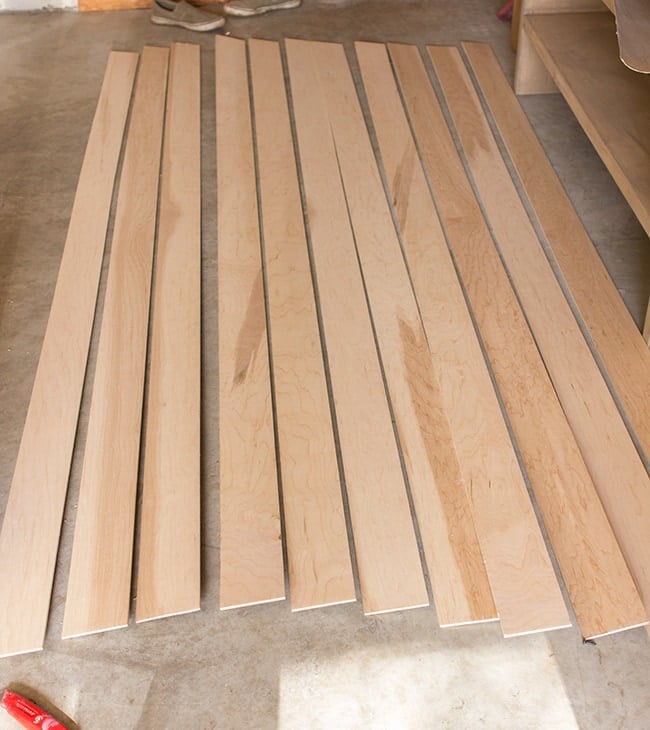
It’s so easy though… just measure and cut, spacing your horizontal pieces out evenly, and secure with a nail gun (wood glue is optional).
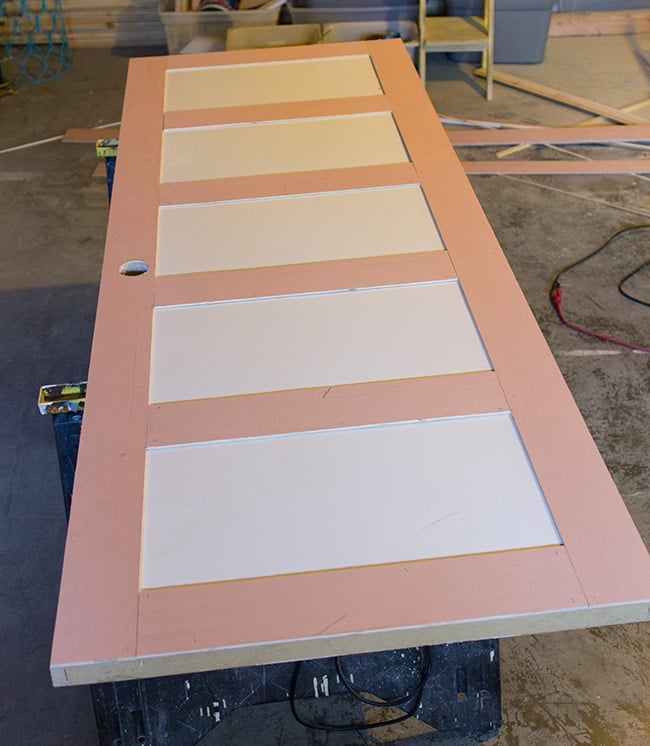
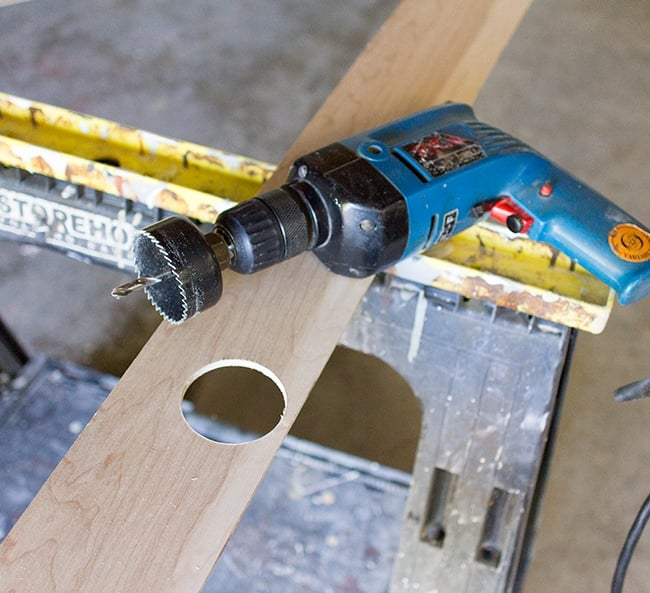
Flip it over and repeat for the other side. You’ll need to use an arbor to drill out a hole for the door handle (make sure to drill it in the exact same location!)
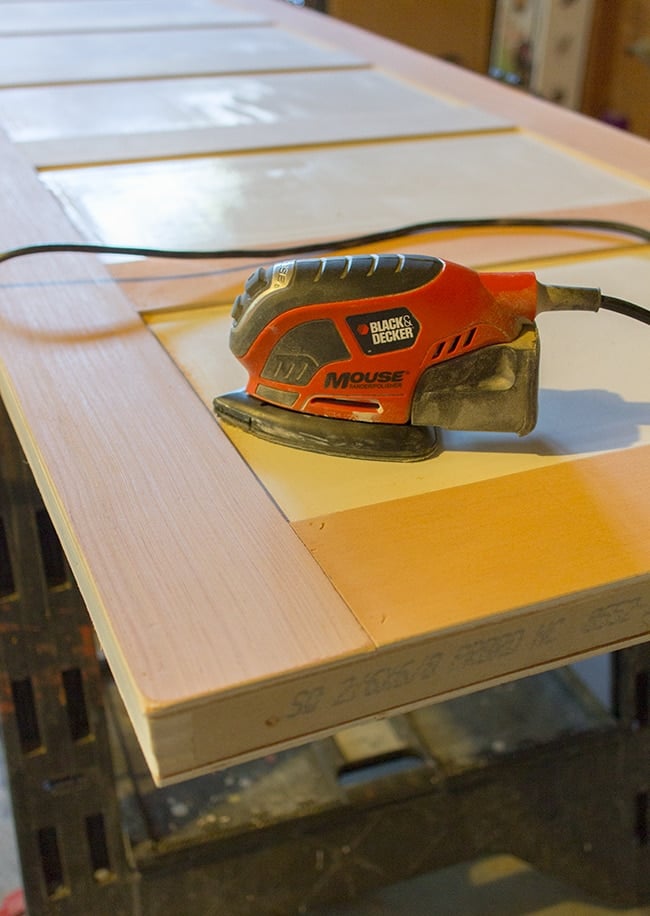
Once all my pieces were attached, I sanded down the rough edges with my Mouse (if you don’t own one of these yet, you’re missing out!)
Then I spackled the nail holes and caulked along the inside edges for a seamless look.
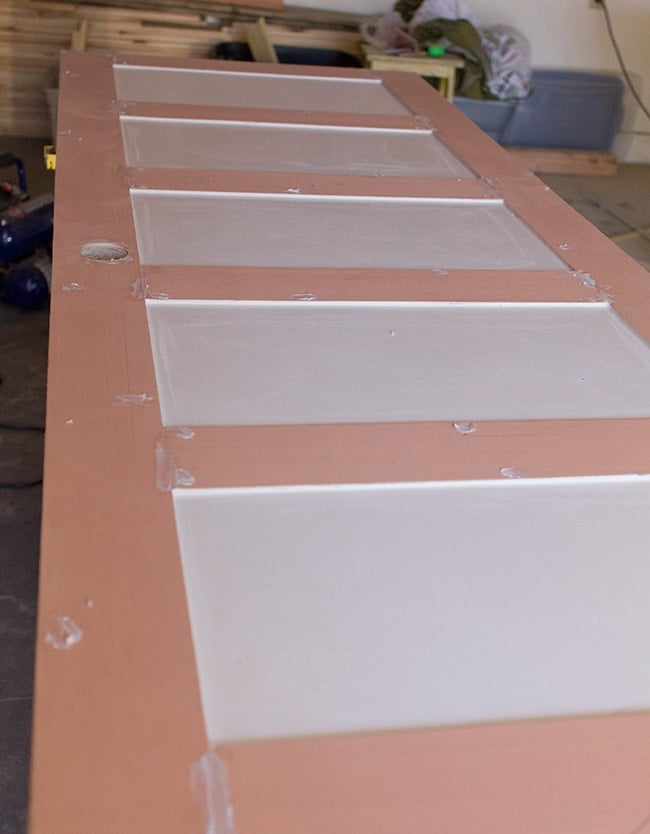
After drying overnight, I gave everything a nice thorough sanding with finer grit sandpaper (including the actual door panel).
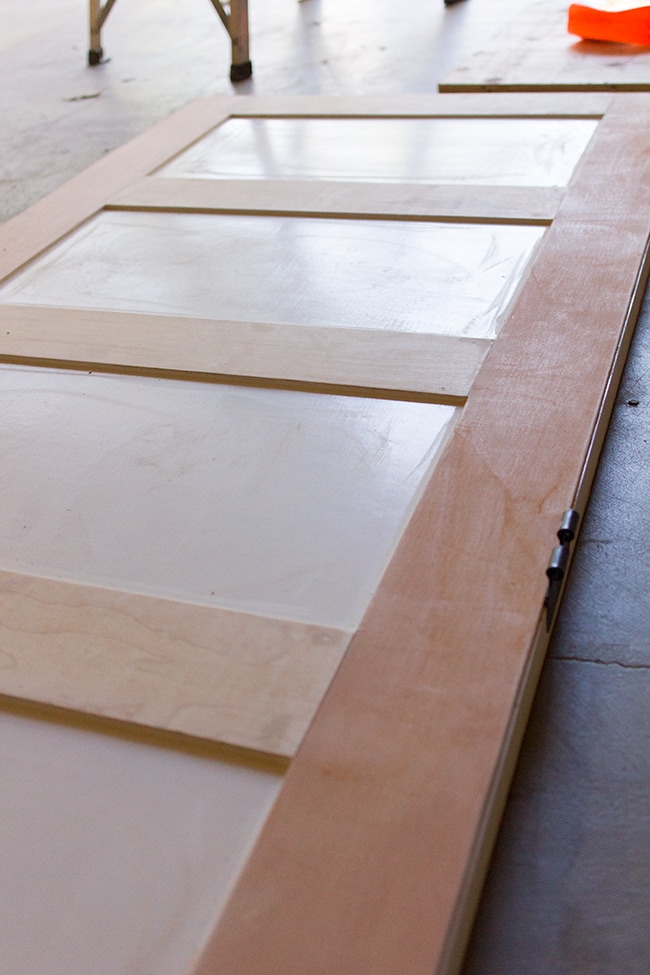
Since I added almost 1/2″ of depth onto the door, I had to remove the door stop casing or else it wouldn’t close properly.
To do that, you must first cut a line with a utility knife on all sides…
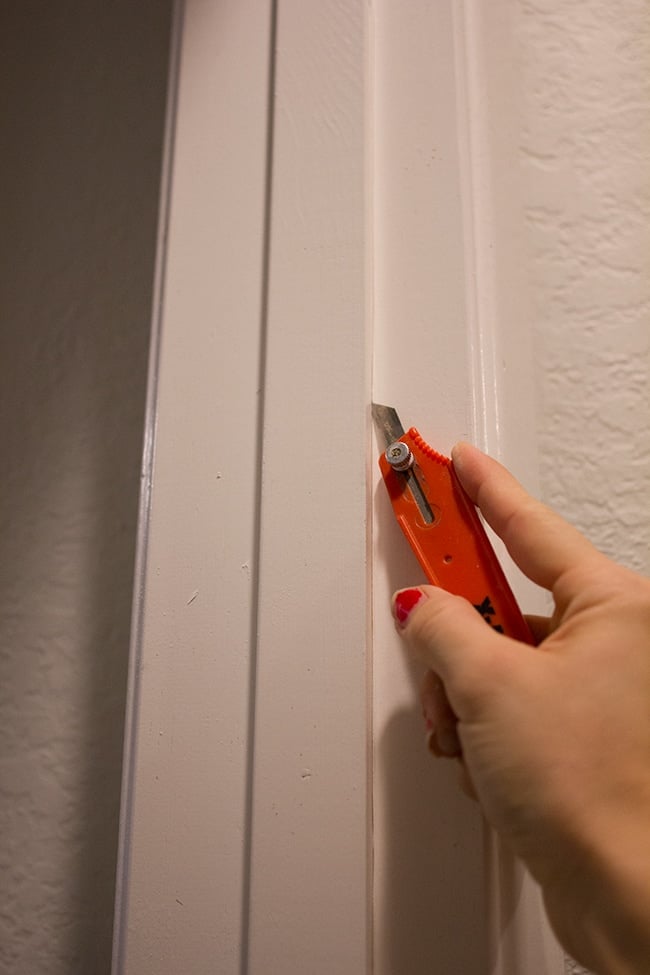
Then pry the pieces off. Luckily these ones came off really easily (you can see the three pieces in the hallway).
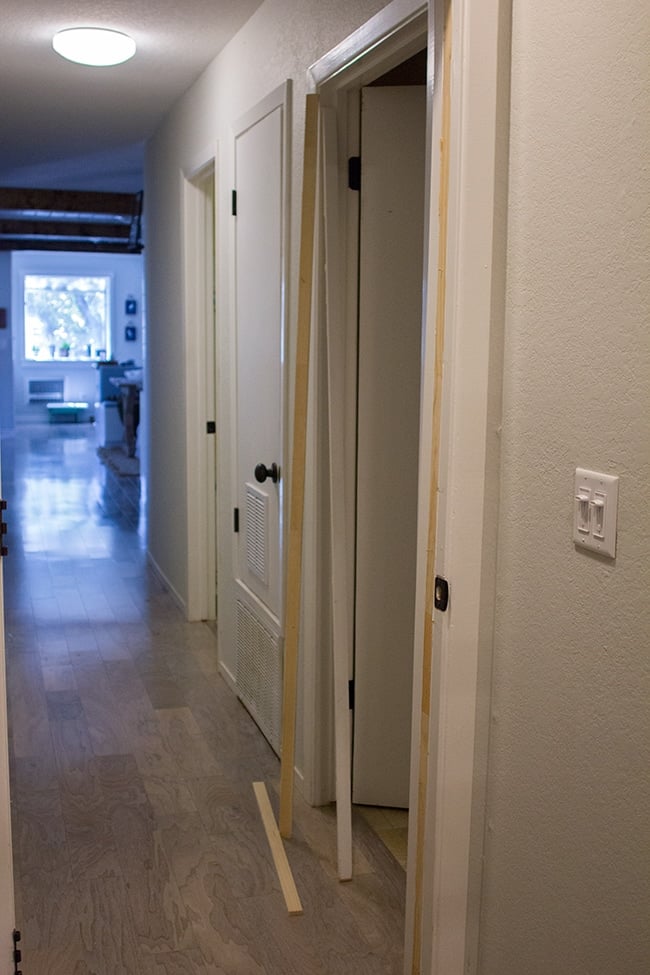
Some of the nails will stay in the door casing which you can just hammer back in, and break off the ones stuck in the molding.
Then clear the built up caulk from the door casing and the trim pieces so it’s nice and clean for reinstallation:
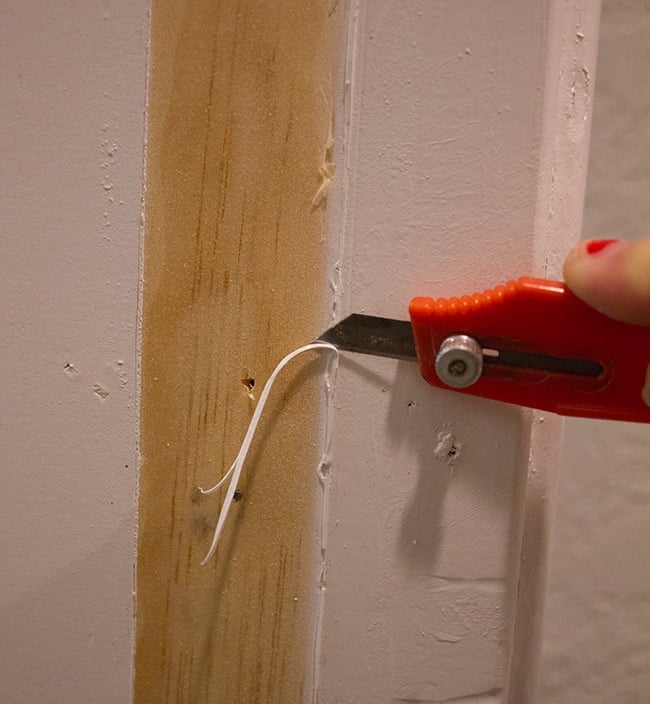
I decided to hang the door back up first before painting it because 1) it was 100° in the garage, and 2) I could turn on the TV in our room to make it more enjoyable. It really doesn’t matter either way, you just have to be slightly more careful to not paint the casing.
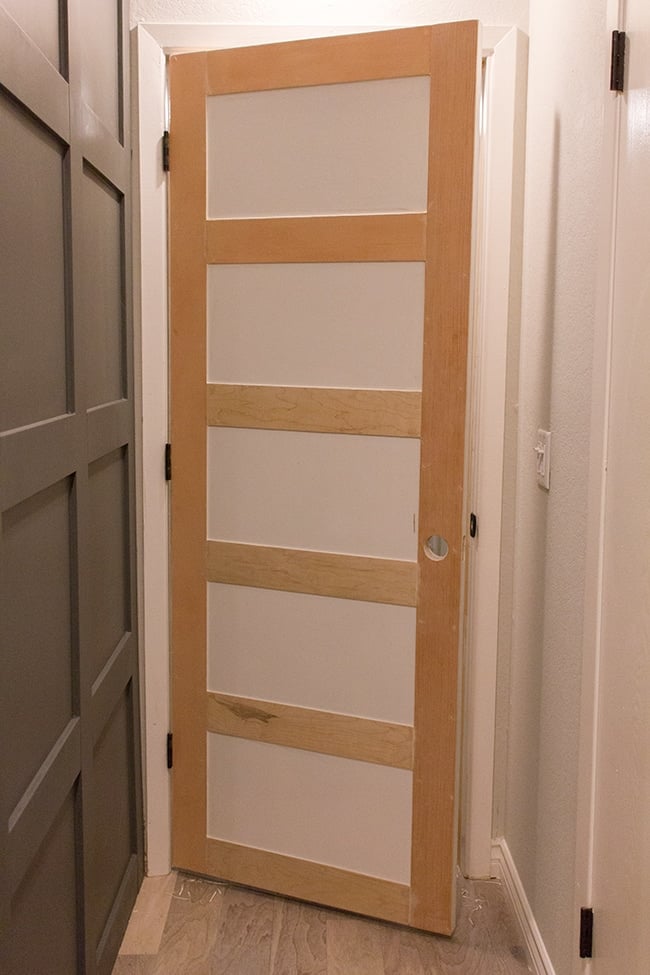
I used the same black that’s on the kitchen and front doors, except in a satin finish—Valspar’s Dark Kettle Black.
I haven’t tried their new Reserve line yet, but I can’t imagine needing anything better than their Signature. The coverage is amazing… here’s after just one coat:
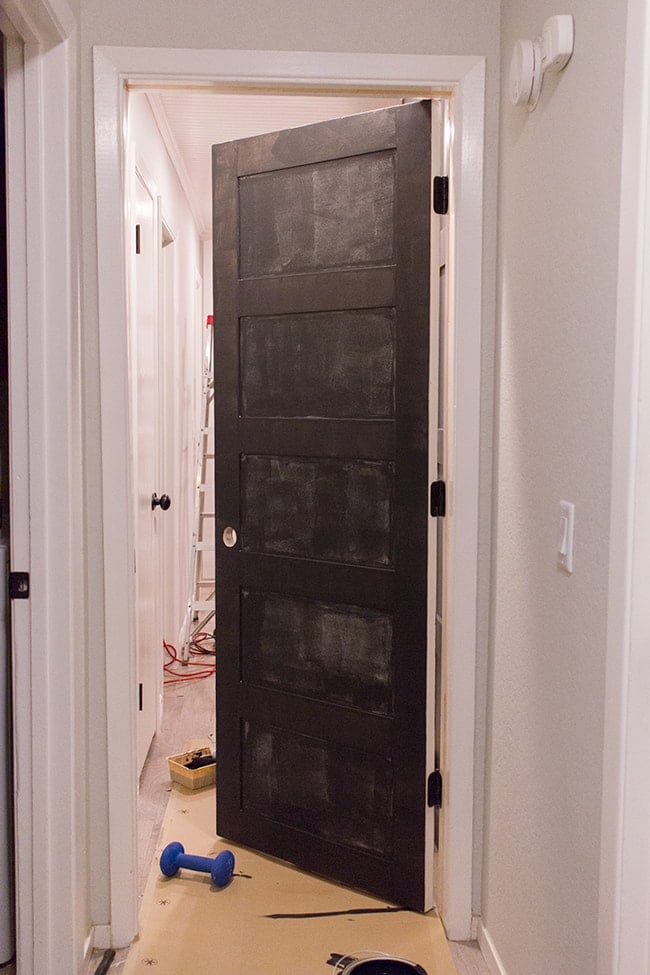
Of course the plywood took to it better than the painted white door—it almost covered in just one coat!
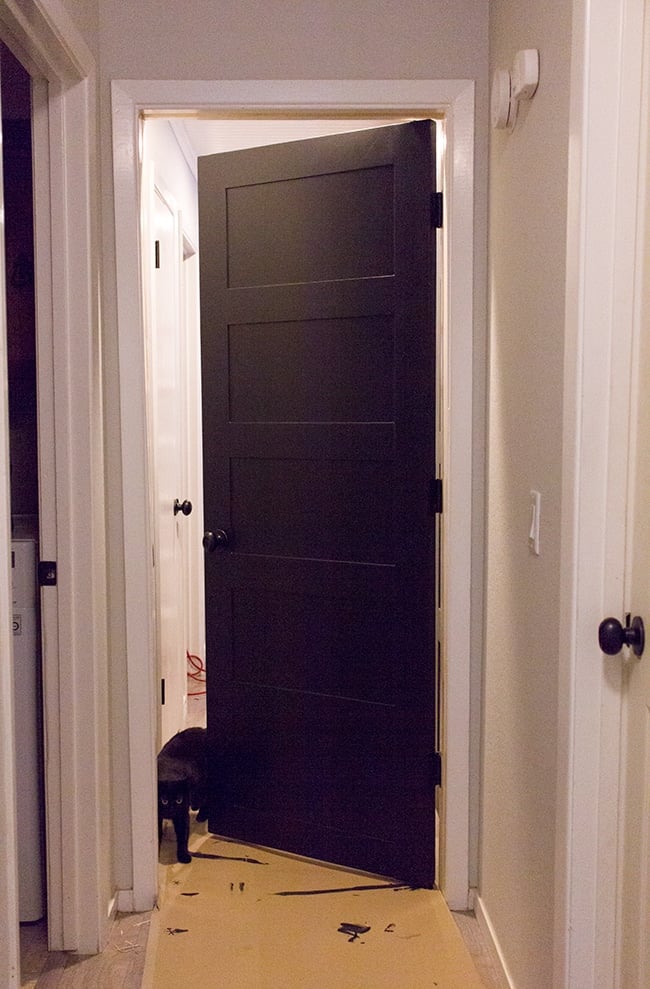
All it needed was two coats and a few touchups. Easy, fast paint job (excuse the poor lighting).
Once the handle was back on, I shut the door and nailed the casing pieces back in place so the new door would shut properly.
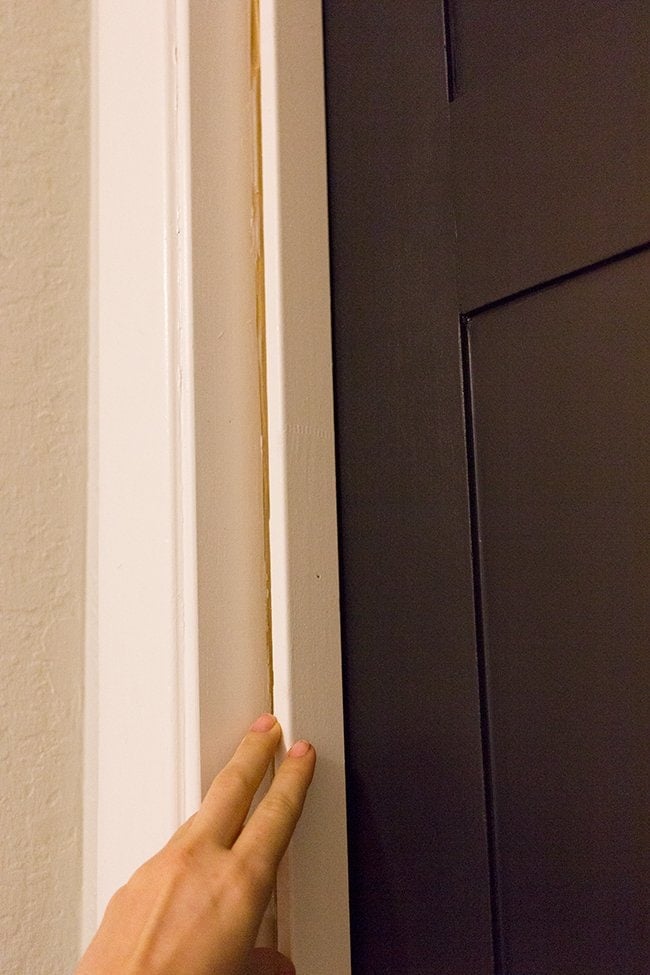
Then I filled the nail holes and caulked it back in. (I still have to sand and touch up paint… that will be done tonight).
Ahhh… so rich.
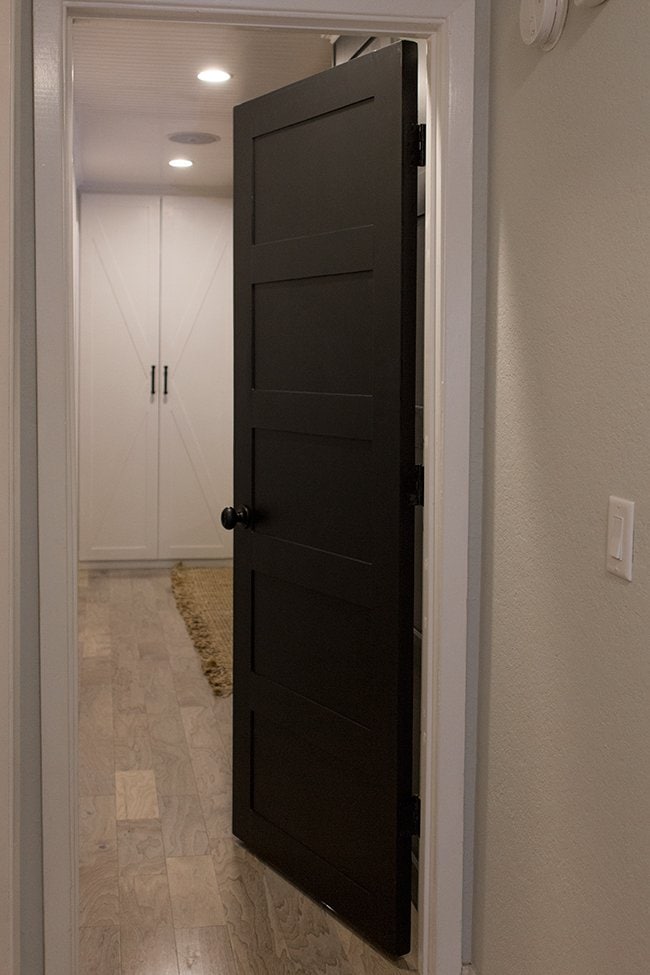
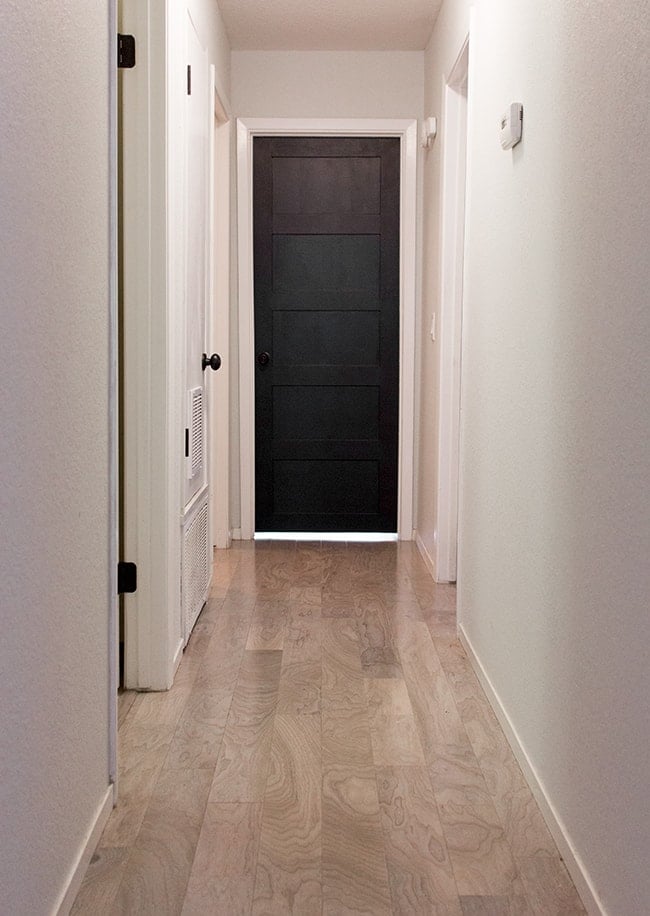
It’s a little difficult to see the detail through photos (I have to bump up the exposure a bit, hence the grainy-ish pics) but it’s really lovely in person. Black doors will never go out of style.
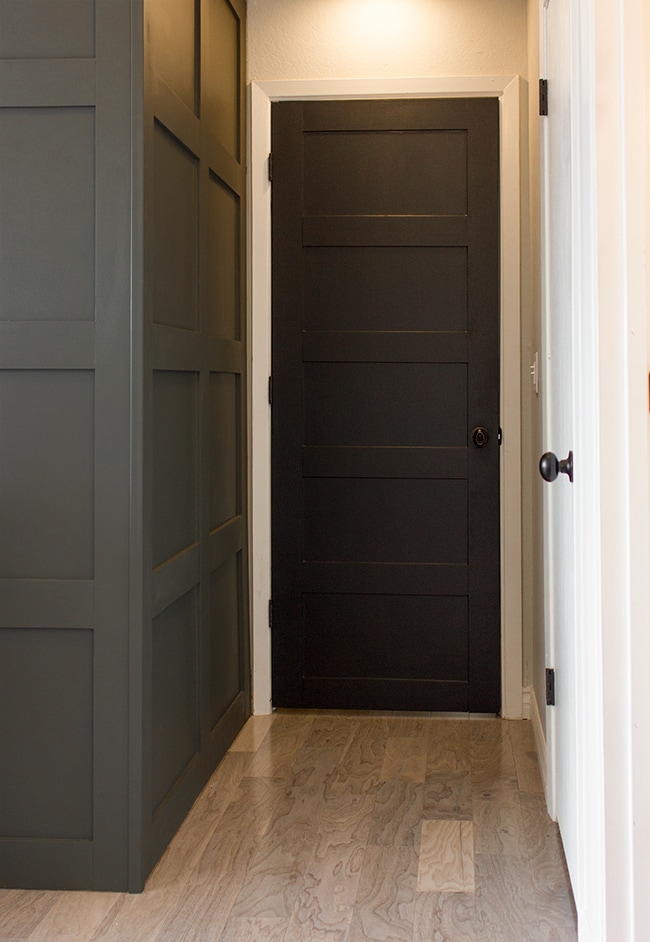
I love the way it ties into the wall paneling.
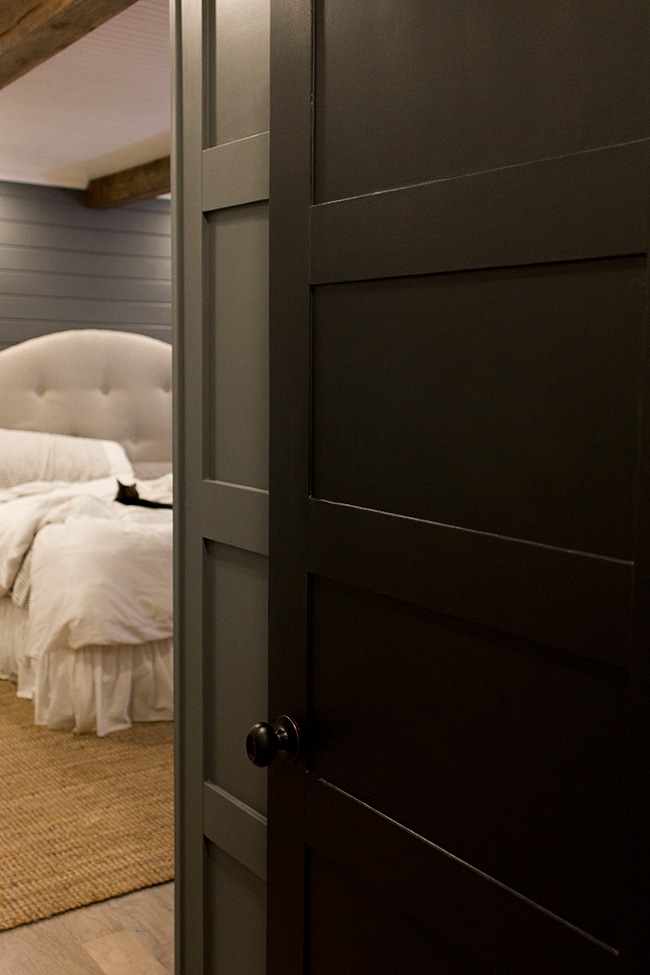
I’ll be converting all of the doors eventually. This hallway needs some loving, I know. One step at a time.
If you like this project, check out these popular beginner budget DIYs from my Project Library:
- $10 canvas floating frame
- How to realistically age wood (the easy way!)
- Easy string light planters
- Board + Batten tutorial




Mia says
This blog was a god send for me. I tried to click on the link for the explanation and it kept giving me an error page. Will you please tell me how wide you cut your pieces? Are they about 3″ . I know I will have to adapt to my door size of course but it would be helpful. Thank you 🙂
jennasuedesign says
Just fixed the link, thanks Mia! They’re 4″.
Tiphini says
I love this project. I’m fixing to start on my doors and black has always been the color I was going to use because I love the richness of it. I recently redone the walls surrounding the door in question with old fashioned barn tin on the bottom and rustic pallet boards on top with stained 1×4’s as the trim and chair rail. The stain is English chestnut which is on the dark side. The floors are a laminate wood grain plank that is medium in color. What do you think about black for the doors?? Too dark???? Or not???? What about the casing? Should I paint it black as well???
Charles K. says
Love this, thanks for sharing! We’re going to start on our plain ol’ hollow core doors this weekend. Curious if you recall approx. how wide you cut each strip of plywood? Thanks again for the great post!
jennasuedesign says
Around 4 inches 🙂
TJ says
I was wondering on the door knob assembly since the door is thinker can you still use the same parts. Seems the inside bar that extents to each knob would be to short.
jennasuedesign says
Nope, it still works just fine!
jennasuedesign says
Yep, all hollow core!
Niki says
I see you removed the casing on the inside of the door way to accommodate for the additional width from adding the plywood. What about the outside? Once the door shuts does it stick out on the opposite side past the casing? Or does it sit flush like it did previously?
jennasuedesign says
The casing is angled so it sticks out slightly farther than the bottom but not more than the entire casing. You really can’t tell at all!
LizO says
Just finishing this update to all 12 doors in my house!! Chose a 3-panel design instead of the 5, but it’s awesome. Many thanks for this blog and your amazing work!
Bill Whiley says
Love this. Am hoping to do on some doors in my entryway. Should I use an 18gauge brad nailer or 16gauge finishing nailer for the door stop?
Thank you for sharing and such a job well done!
jennasuedesign says
Either one is fine!
Lisa says
You did such a great job! I plan to follow suit and do to some doors in my house. One question: how did you know how far to space the strips of wood on the door itself?
Thank you!
Mary F. says
I wondered this same thing! I am going to do this after Christmas, and I thought that I could measure from the top of the door down to the bottom and then divide by 6 because of the five panels?? Otherwise you could do it just by looking and seeing if each panel is evenly spaced? Thanks
jennasuedesign says
Yeah, you can subtract the width of your strips and divide it by the number of panels you’d like. I also laid everything out and double checked the spacing of each before securing them. You won’t notice if it’s not perfect either. Good luck!
Lena L. says
Hi. Which light grey (almost white) wall paint did you use? Thank you!
Stefan says
Looks great! Did you have any problems with the doorknob not fitting due to the increased thickness of the door? I am thinking about doing the same thing, but am concerned that it might not fit back on the same way.
jennasuedesign says
Nope, no problems!
Sarah says
Really nicely done! Just wondering how easy it is to take off the door stops and reattaching those. Also, attaching the door itself doesn’t seem to easy (for a casual DIYer like myself). Do you mind explaining both these step by step? Thank you so much!!!!
JJ says
Couldn’t you have just moved the door hinges back 1/4″ instead of taking out door jambs and such? Also, what nail gun did you use? Lastly, could you use wood putty to fill seam on side of door? Thanks. Such great idea!
jennasuedesign says
I’m not sure about that… you’d have to make new holes and I don’t know if the door would close properly. Removing the door jamb seems like the easiest solution. I used pneumatic brad nailer, not sure of the brand. Caulk is better than wood putty for seams—putty would be difficult to apply and crack and not be smooth like caulk.
Beatrice says
Lovely ideas. I recently bought new doors for my house from http://www.europeancabinets.com/doors-2/
Debra Myrick says
Loved this idea. Started it. Got the door ready to paint. Started removing the door casing and am so discouraged. Our house was built in 1971. I scored the casing but it still ripped the frame and once the casing was removed, there is an open ridge under it! UGH!!! So want this to work. I don’t want to buy new doors right now.