Update: Check out our Backyard Reveal here!
This post is part of a paid collaboration with Lowe’s Home Improvement. All opinions are my own.
Checking back in this week after our master bathroom reveal to share another DIY project we’ve been working on!

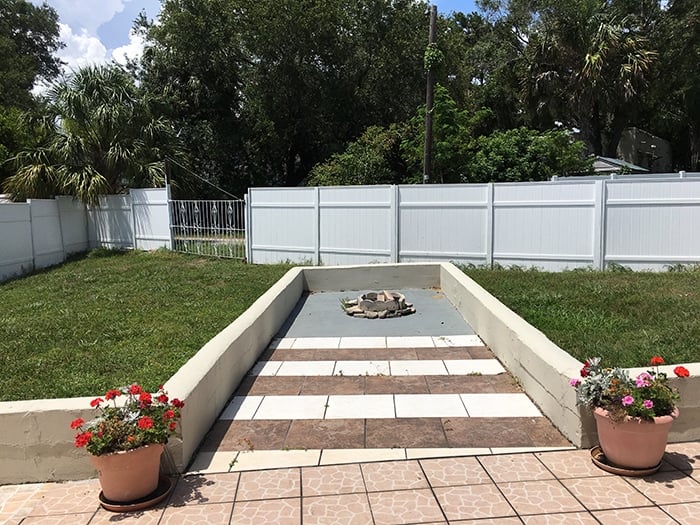
Last week I shared live updates on my Instagram story as this project came together, and many of you requested a blog post with more details. Your wish is my command! This project is just one part of our Backyard renovation, which we started way back in February. Here’s how it looked then:
In case you missed any of the action, check out our DIY backyard fire pit and the DIY stenciled patio first.

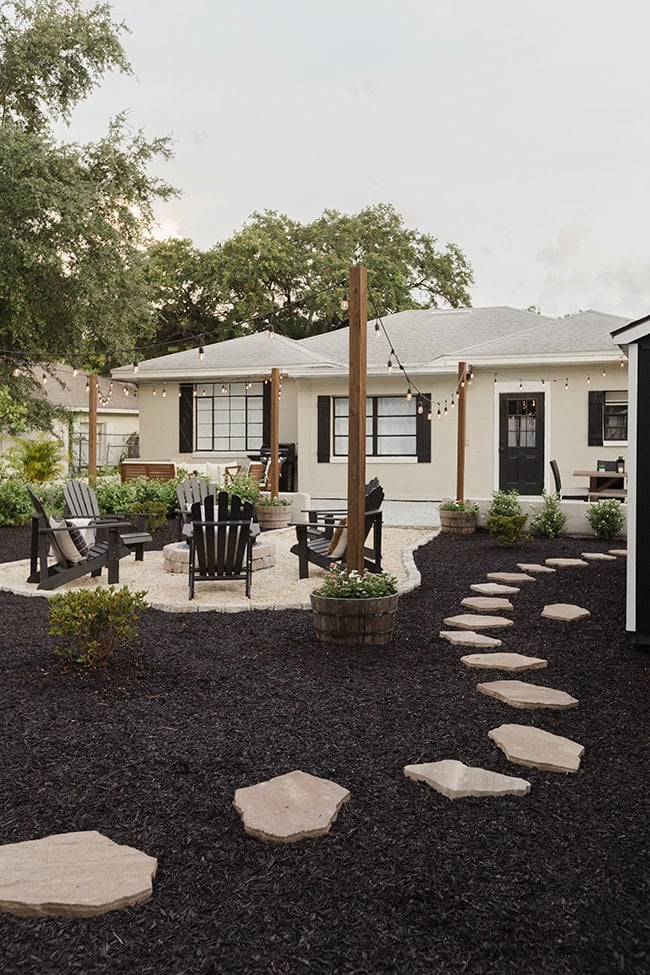
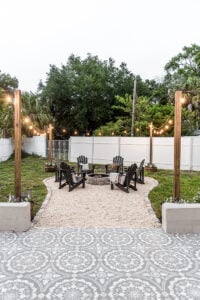
String light planters were the perfect solution for this backyard, as there aren’t any trees or structures in the yard to hang lights.
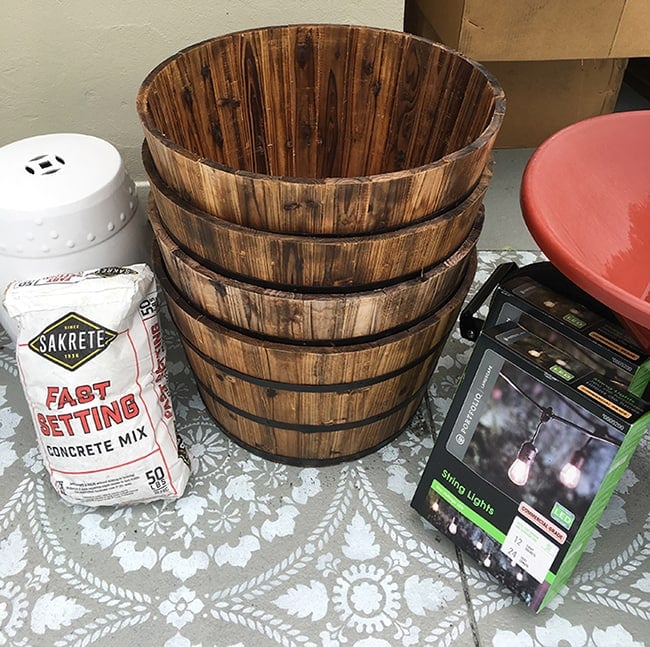
Fortunately, it’s a simple process that requires just a handful of materials and limited tools (beginner DIYers, this one’s for you!)
Jump to:
Here’s what you’ll need:
- Planters (they should be large and deep to hold enough concrete for the posts)
- 4×4 outdoor posts (we used 4x4x8 for our planters)
- Fast setting concrete mix (we used two 50lb bags per planter)
- String lights
- Cup Hooks
- Drill (for drainage holes)
- Potting mix
- Flowers
Optional:
- Corner brace to keep posts straight before the concrete sets
- Level (you can eyeball it but a level always helps!)
Step 1: Stain the 4×4’s (optional)
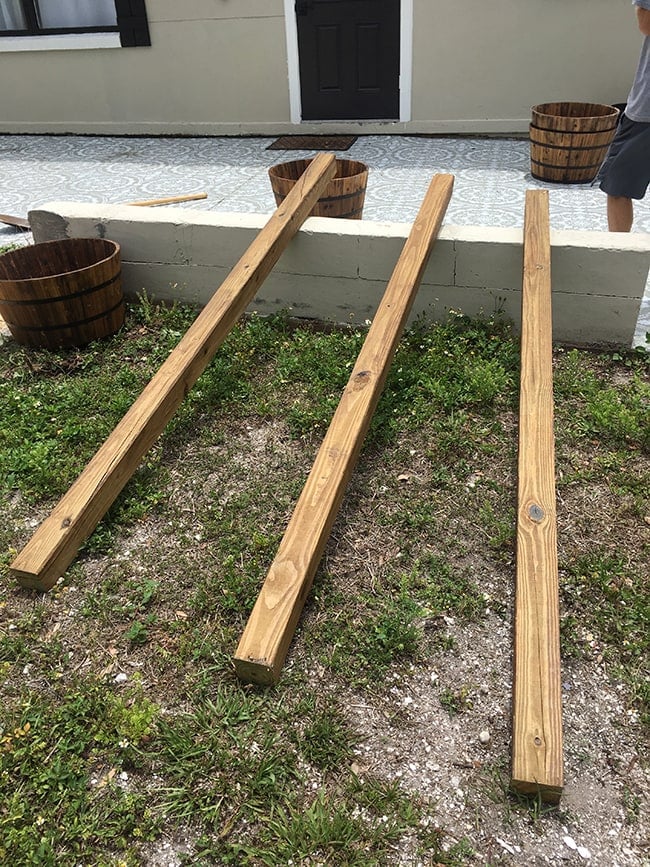
Before beginning, I stained the 4×4’s with my favorite dark walnut stain + sealer. Pressure treated wood doesn’t have the nicest natural coloring so I’d recommend this (or painting them) first. It’s rough outdoor wood, so you don’t need to worry about sanding or making them look perfect!
Step 2: Stabilize the 4x4s with corner braces
This next part is also optional, but we decided to be safe and attach the posts to the planters using corner braces on two sides, to keep them in place while the concrete dried.
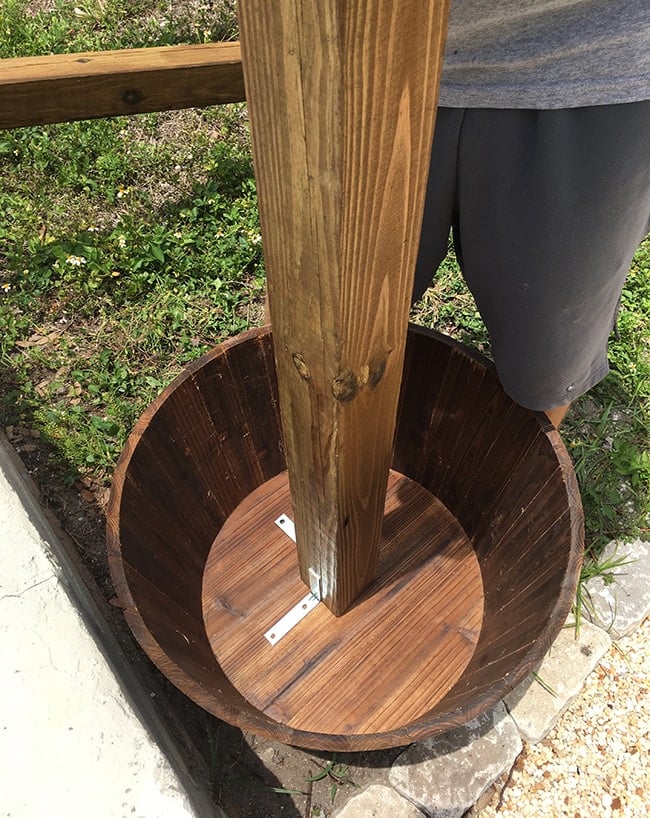
Once the braces were attached to the 4×4’s, we centered it inside of the barrel (by eye), then used screws to secure it to the bottom.
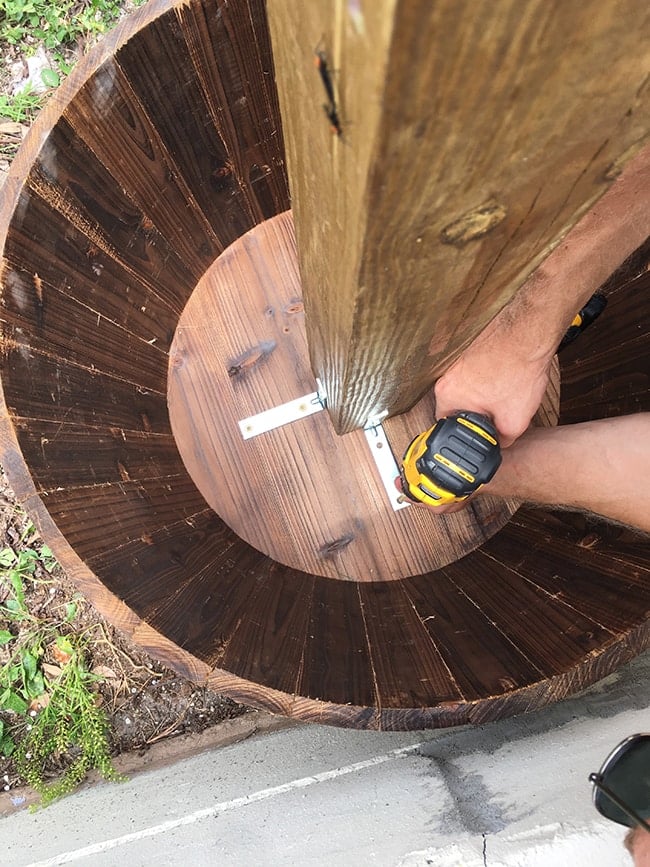
The bottom of the barrel was thin wood so the screws aren’t very solid and the post can still wiggle around, but it’s enough to keep it steady.
Step 3: Add concrete mix + water
Next, fill the barrel with water and add concrete. There was no specific water/concrete ratio mix listed on the bag, and it doesn’t even require mixing!
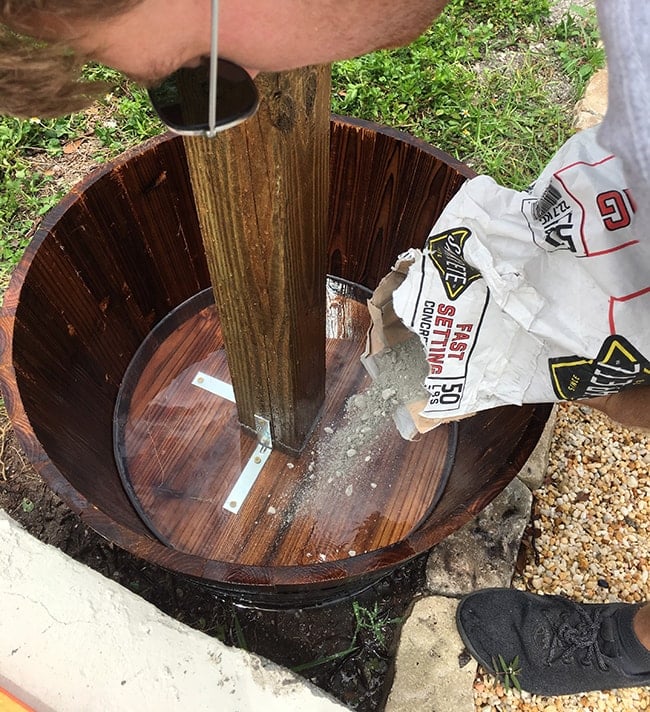
But we stirred it anyway. I was expecting it to be more like smooth concrete or mortar, but this stuff is really rocky.
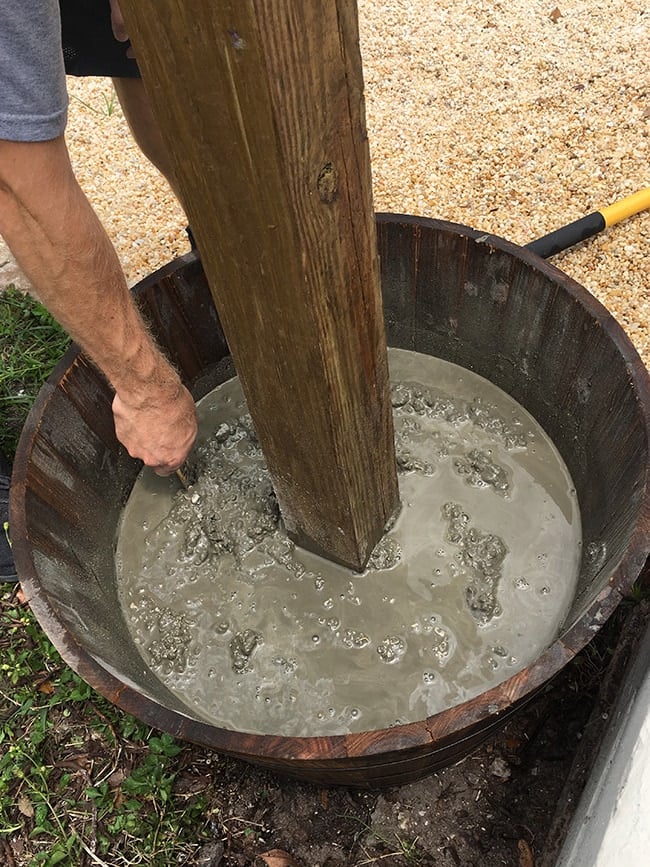
And it’s way easier (and more fun) to mix with your hands 😉 (PSA: if you’re going to do this, be safe and wear gloves!)
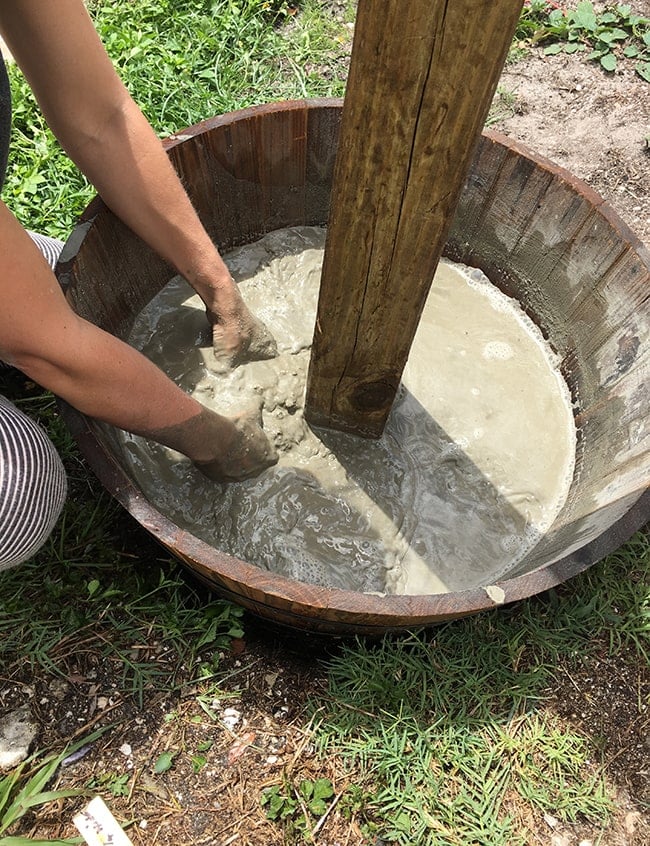
We filled our planters a bit less than halfway, using two bags and somewhere close to a 50/50 water mix.

Step 4: Level the 4x4s
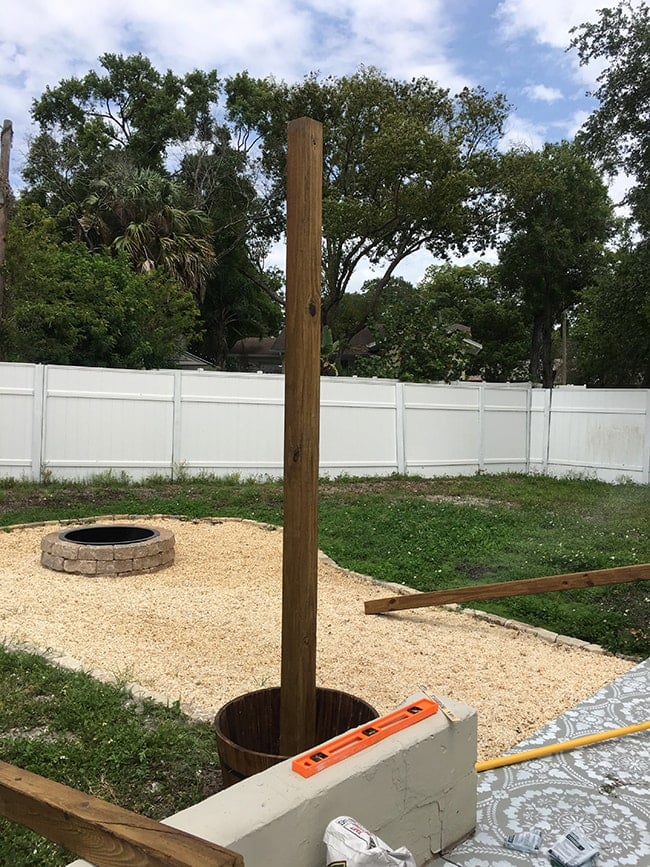
Before it begins to set (which happens within minutes) you’ll want to look at it from all angles and make sure it’s level. The good thing about these planters is that you can easily adjust afterwards by moving a bit of dirt around underneath it (we had to do this to all of them!)
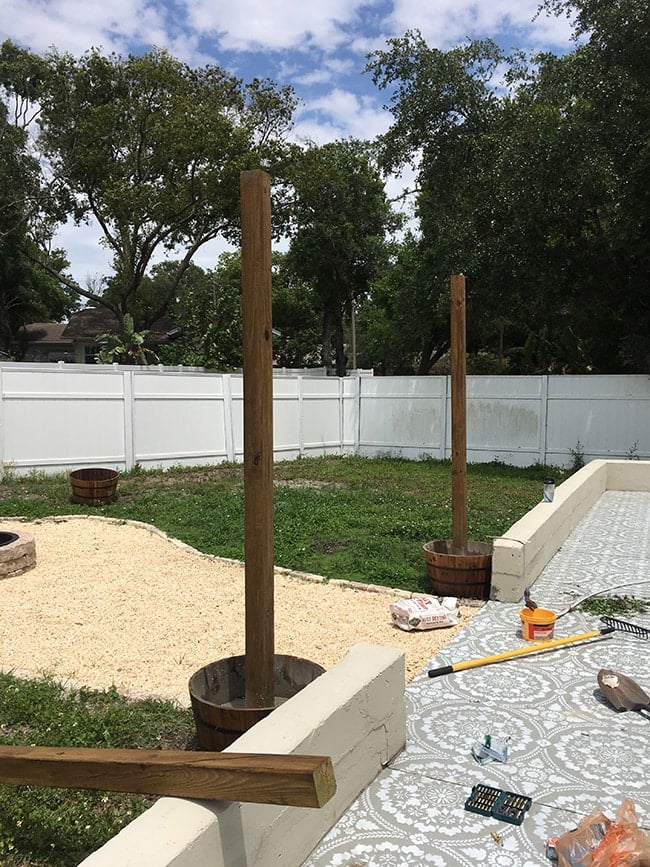
Once the first planter was complete, the other three went up super fast. Just make sure to set the planters in the location you want them to be in first so you don’t have to haul a 100+lbs around the yard.
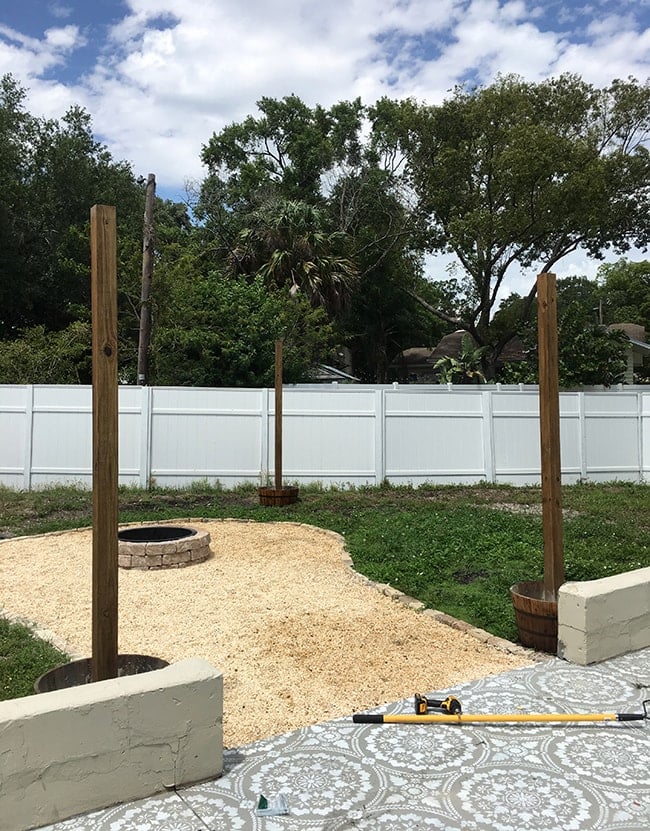
We used four planters around our fire pit area:

Step 5: Drill holes for drainage
Before planting flowers, we had to address the drainage issue. Plants need adequate drainage to stay alive, so our solution was to drill several holes just above the concrete around the barrel.
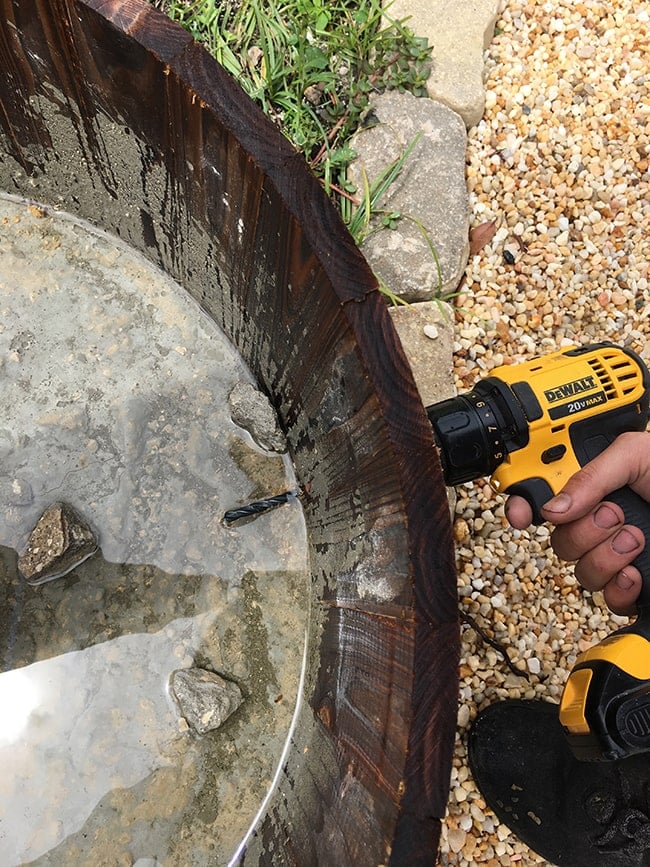
This was a tip I learned from another Pinterest article, so we’re hoping it works long term!
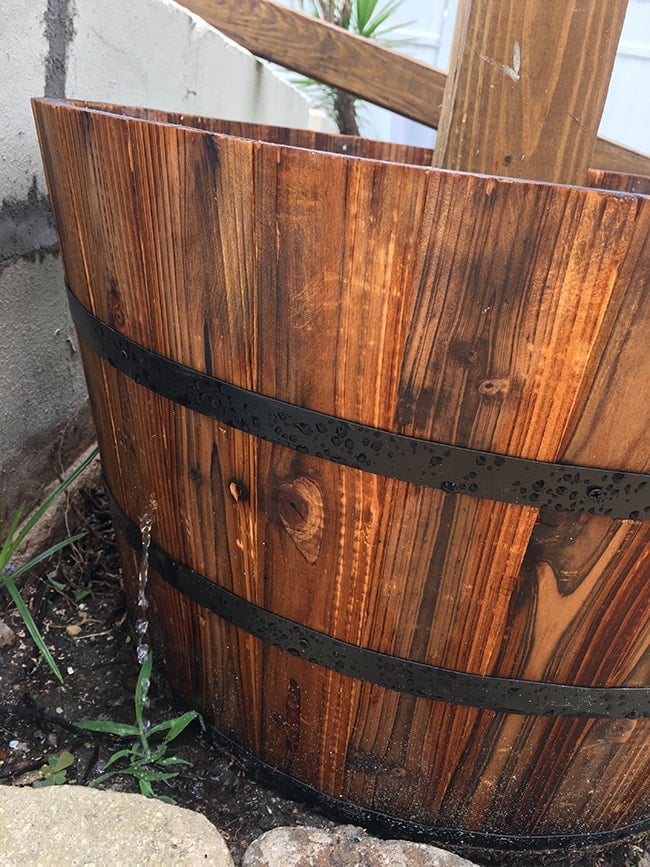
Step 6: Add rocks, soil and plants
We still had a bunch of leftover rock from ripping out the concrete to make the fire pit, so we spread a layer around the bottom of each barrel to further help with drainage, then added our potting soil.
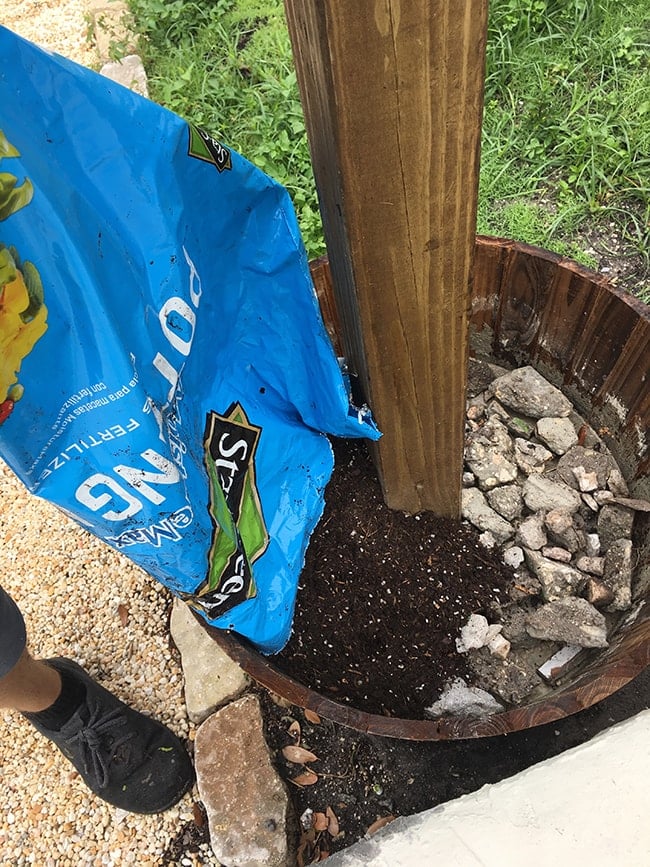
In the Lowe’s garden center, we browsed the aisles for full-sun flowers that would bloom all year long and landed on these beauties:
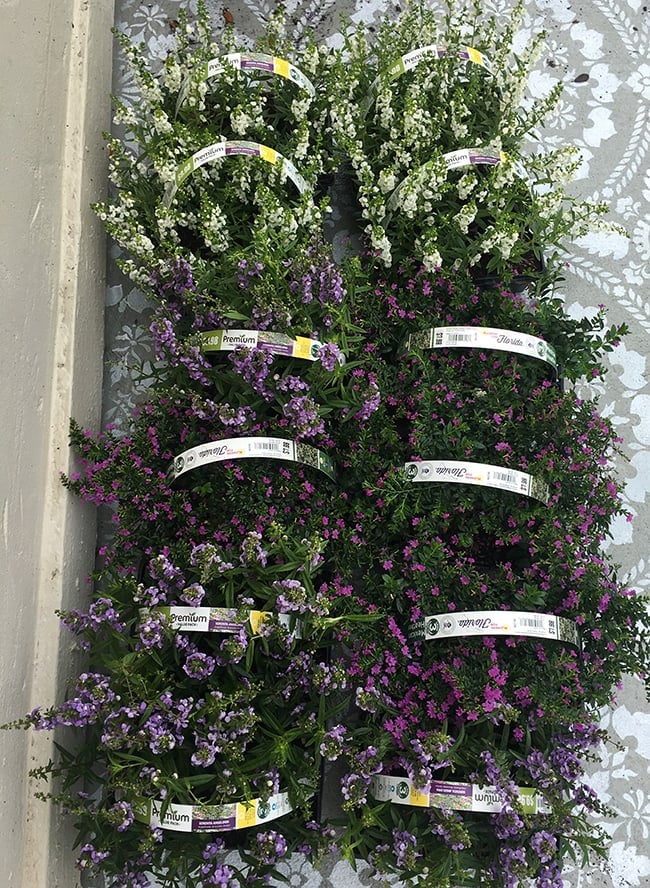
We bought an assortment of Angelonias (in white and purple) and purple Cupheas. We’re still very new at this gardening thing and doing our best to research and figure it out, but these flowers met our requirements plus they’re backed by a 1-year Lowe’s plant guarantee, so we’re feeling pretty confident about our choice.

And how gorgeous are they?! Lavender is one of my favorite plants but it doesn’t do well in humid Florida, so these are the next best thing.
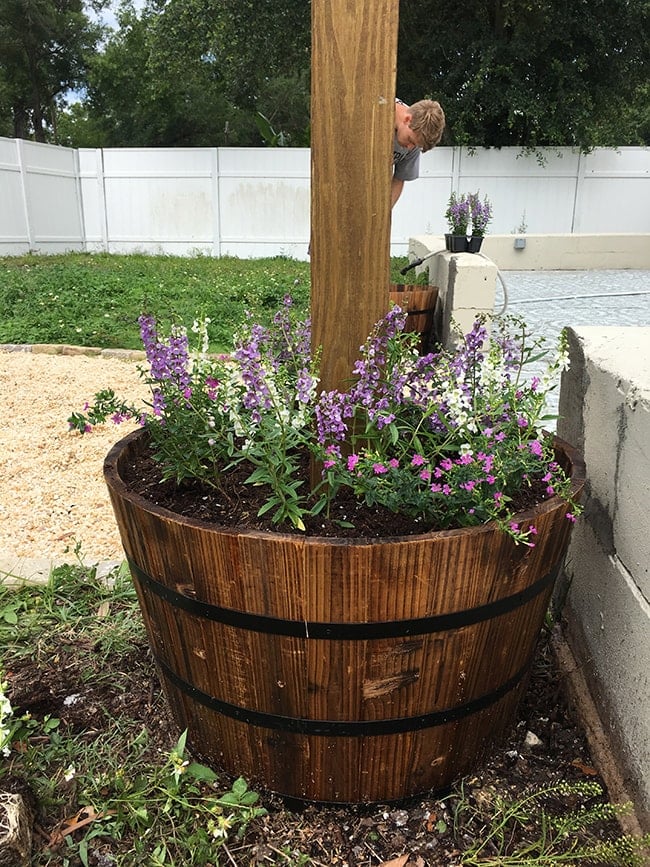
FYI—any gardeners out there, I’ll take all the tips and advice I can get on keeping these beauties alive!
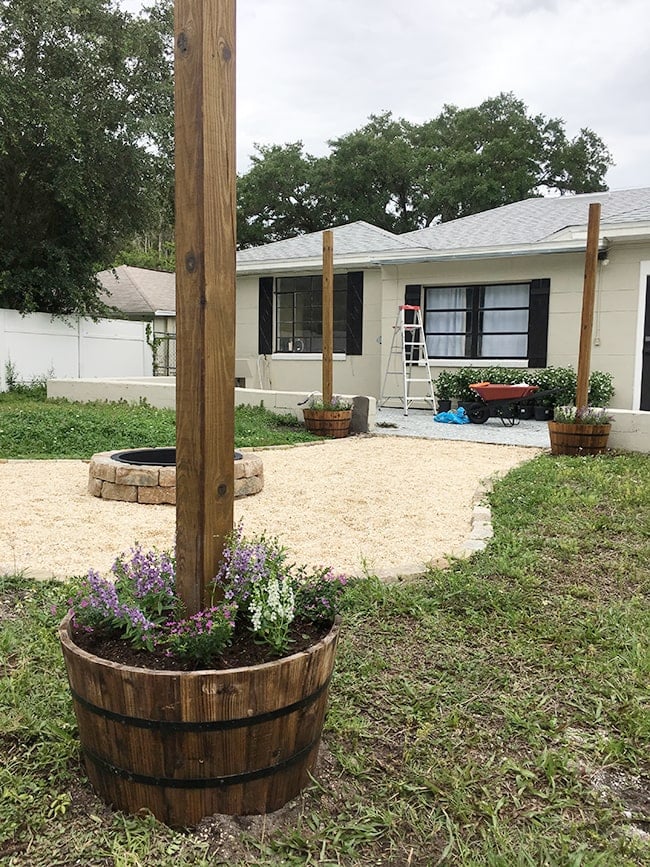
Here’s how the yard was looking at this stage…
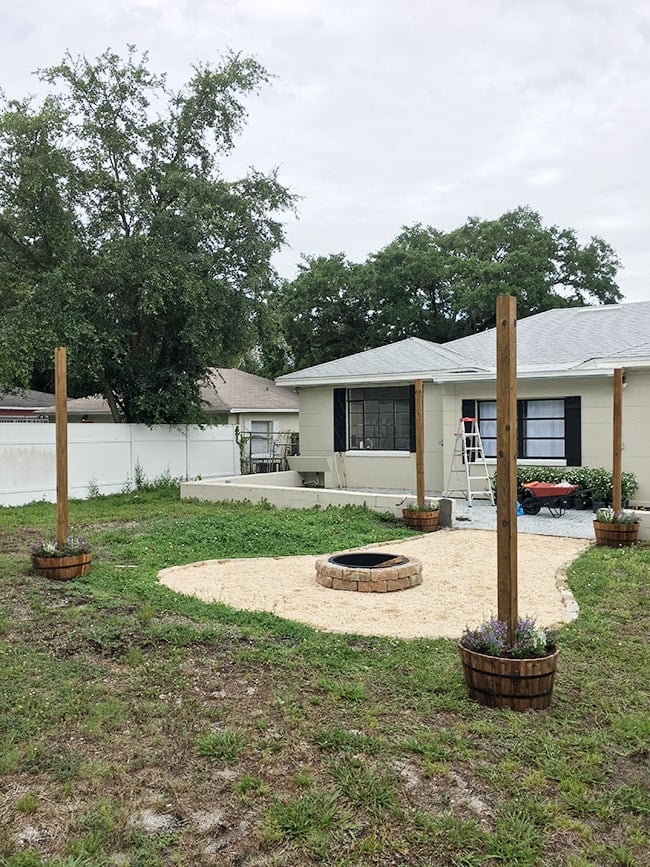
Ignore the grass situation, we’re still working on it…
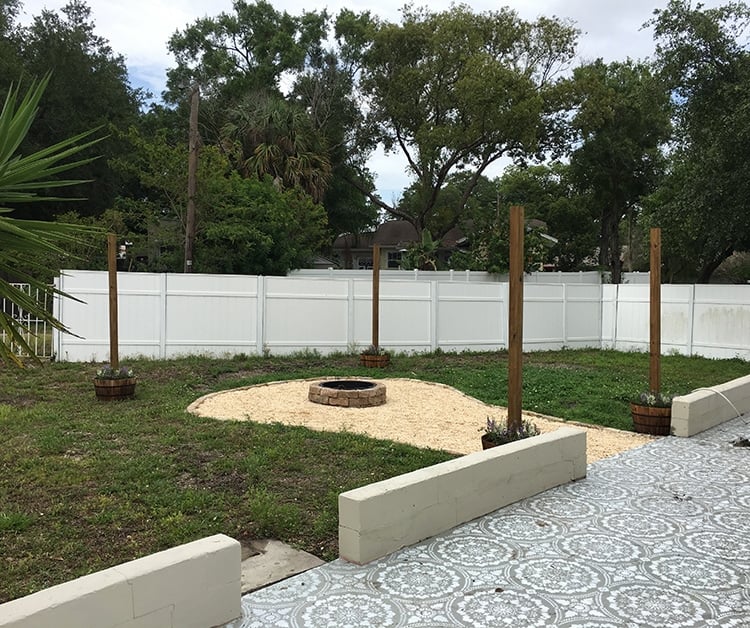
But we weren’t done yet! We wanted to hang the string lights across the entire patio, so we needed to add two more posts—one on each end of the yard. Instead of planters (mostly to keep costs down and since they wouldn’t be very visible) we set the posts directly into the ground.
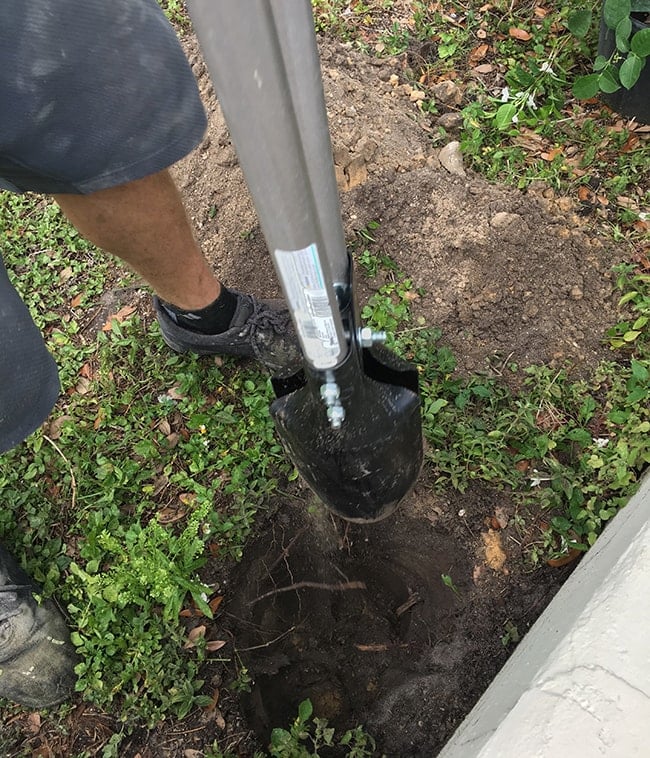
The process is the same, but we used 4x4x10′ posts, adding 2′ for the section into the ground (so all the posts would end up at the same height).

After digging a hole a little more than twice the width (using a post hole digger) we filled it up about 1/3 of the way with water…
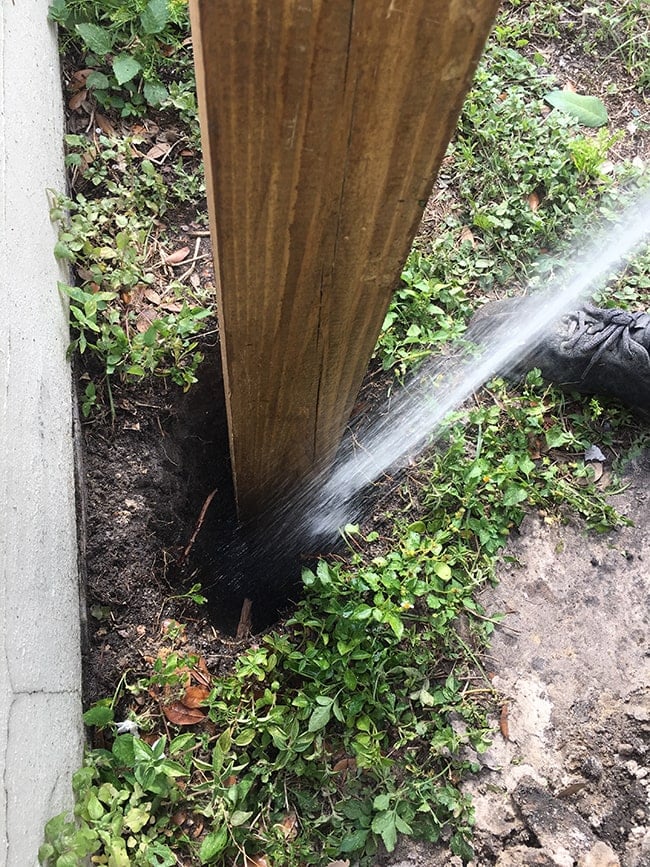
Followed by two bags of concrete, gave it a little stir and it quickly started to set.
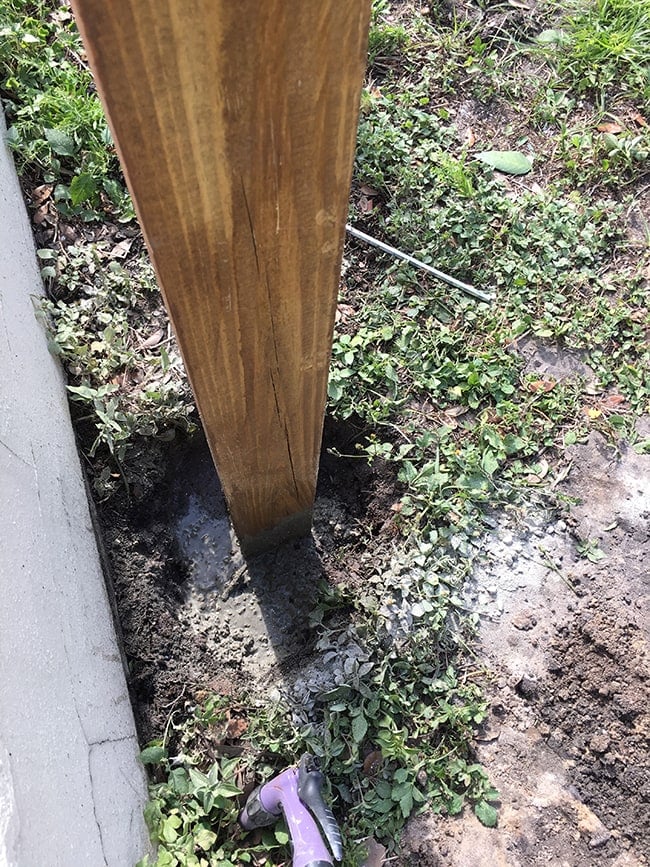
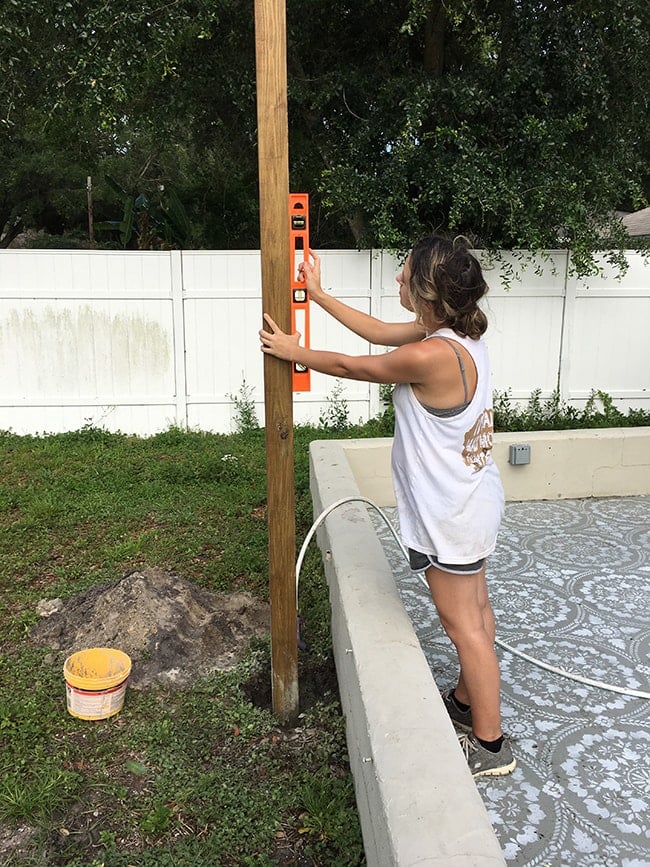
These poles are very important to get level, since you can’t make any adjustments once they’re in.
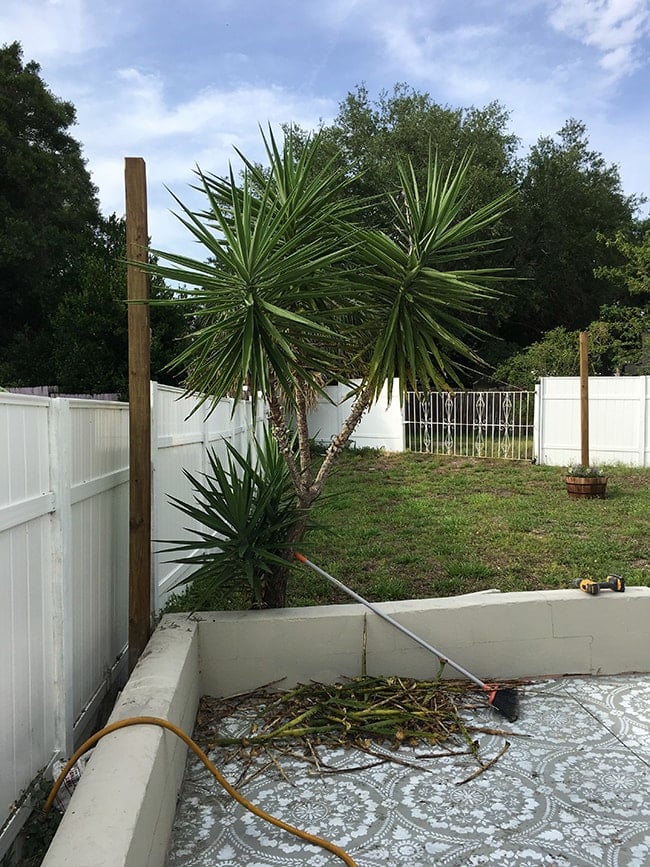
One final pole was added in the ground on the other side of the yard:
Finally, it was time to string some lights! I opted for LED cafe lights (for energy efficiency + longer bulb life) and ordered four sets (96 ft total) at 30% off, which came out to around $150.

I also picked up a few packages of these cup hooks:

Step 7: Attach cup hooks
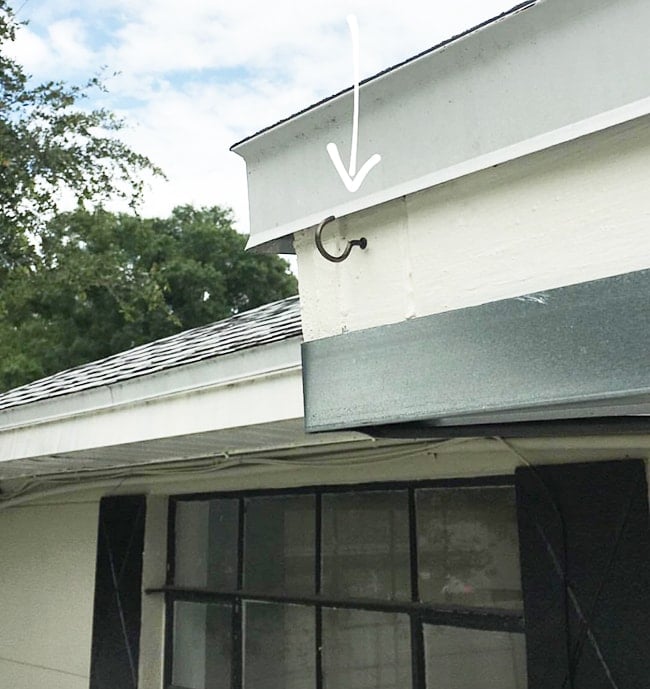
Starting at the far corner of the house, we attached our first hook (pre-drilling a hole first, then twisting them in by hand).
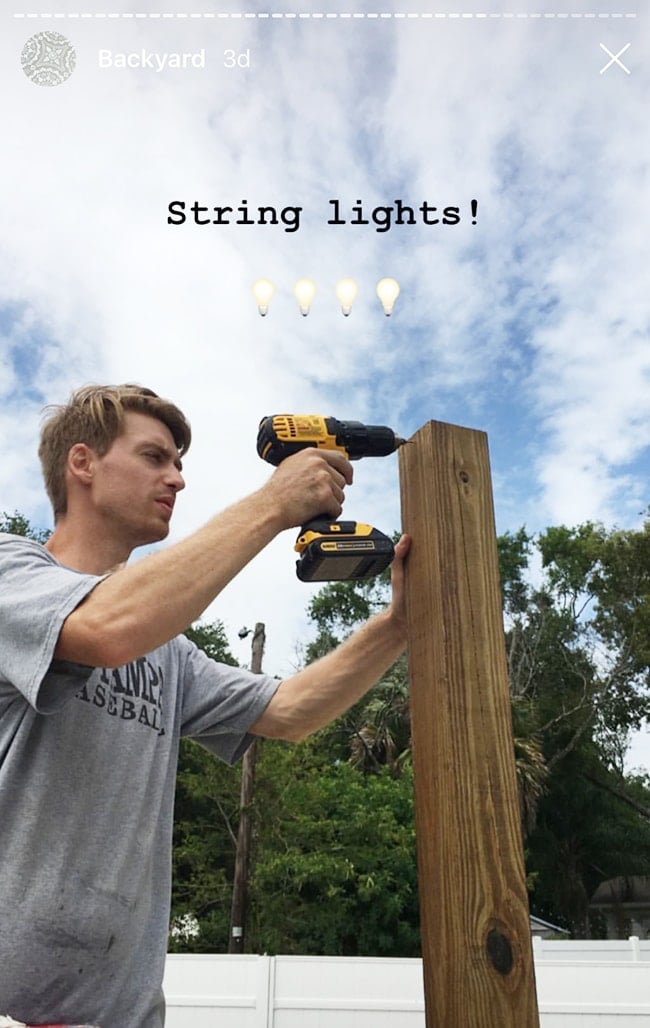
Same process for the 4×4’s (using one hook in each post).
Step 8: Attach string lights
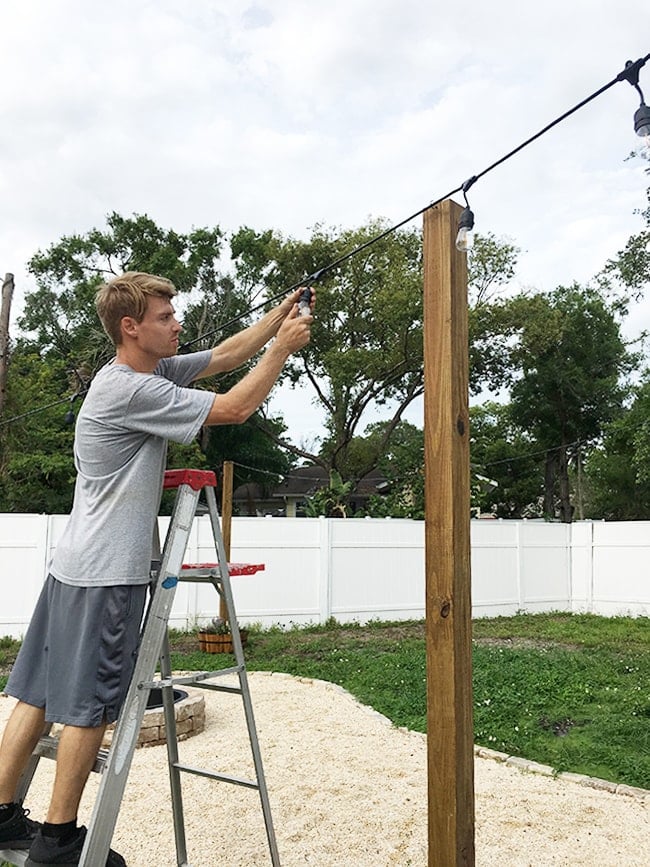
Once all the screws were in, the lights were strung and connected one by one.
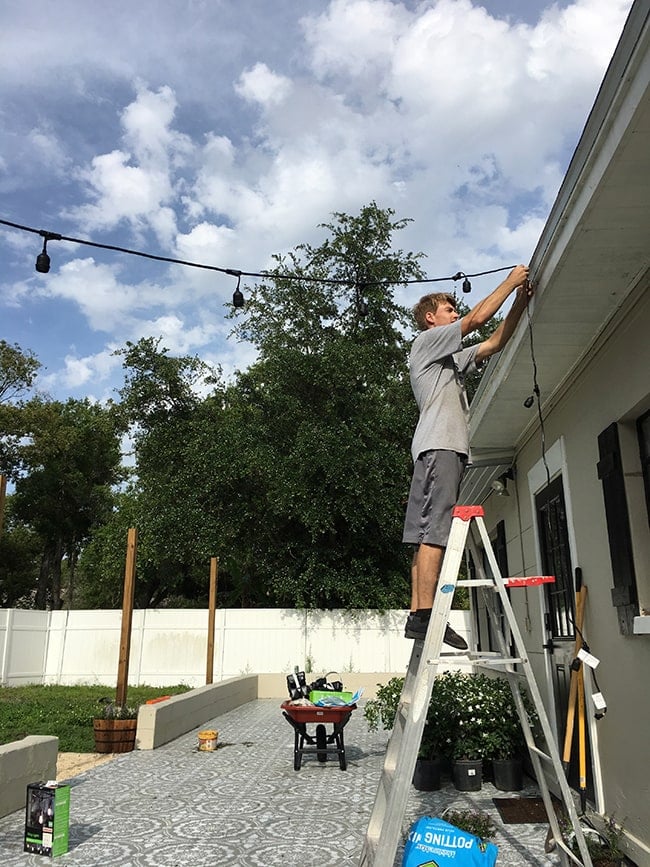
A bit difficult to see in front of the trees, but here they are:
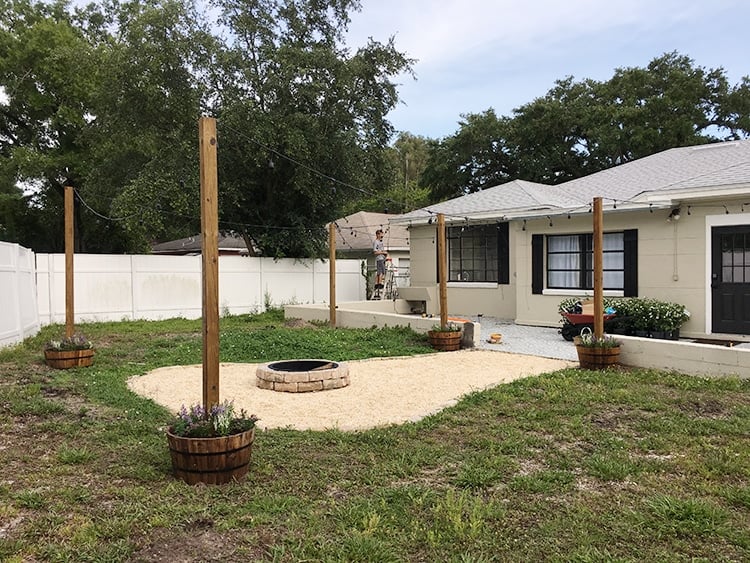
Followed by the bulbs…
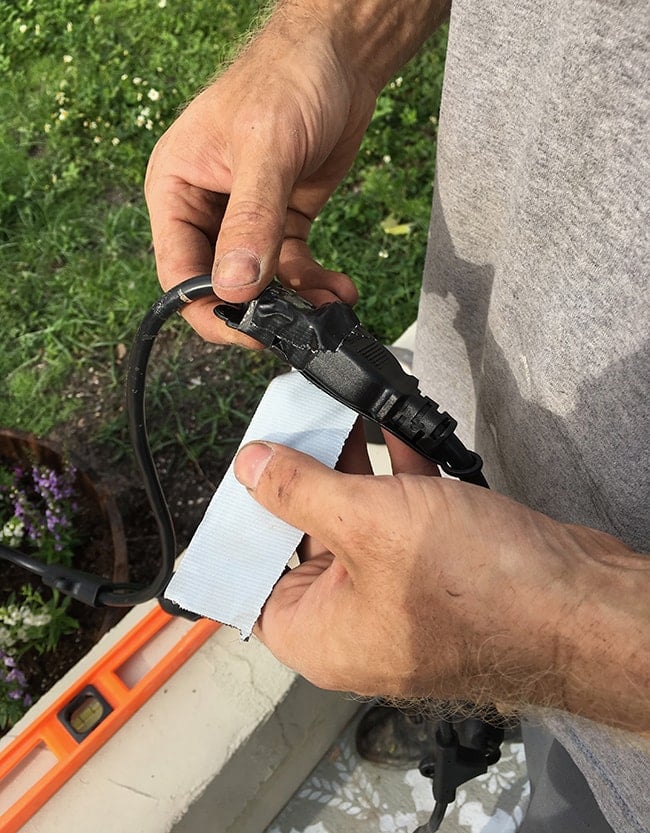
We used duct tape on the connections to help hold them together (they come apart pretty easily when pulled too tightly).
Here’s a quick drawing of the lighting layout (super professional and to scale, I know). It’s an aerial view looking down at the house with the fire pit area in the center, and the brown squares represent the posts.

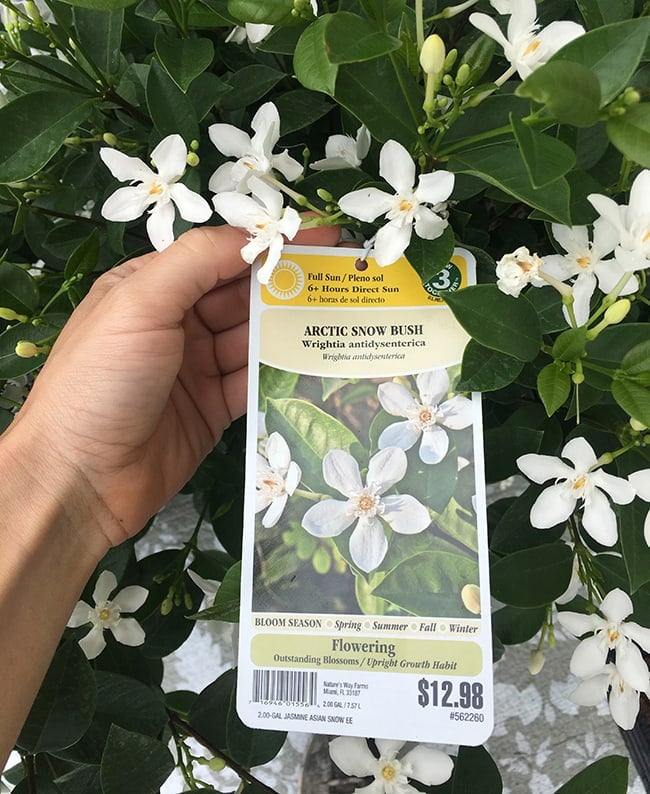
The next day we were back at Lowe’s to finalize our landscaping. These 2-gallon Arctic Snow Bushes caught my eye, and I was sold when I saw the $13 price tag and the fact that they are evergreen and bloom year round.
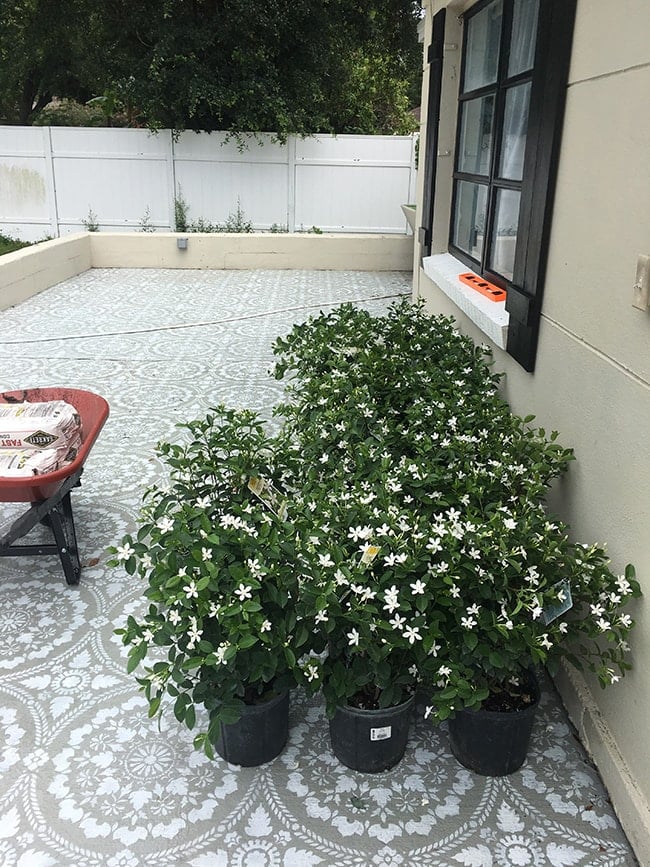
On Lowe’s.com they’re listed as Arabian Jasmine while the tag says Arctic Snow Bush, so maybe they go by both names?
Either way, we bought 17 to line the perimeter of the patio (and came up short, so I’m going back for a couple more tonight). We’ve also been itching to get a lemon tree, especially since they grow so well here in Florida, so we brought this one home with us:
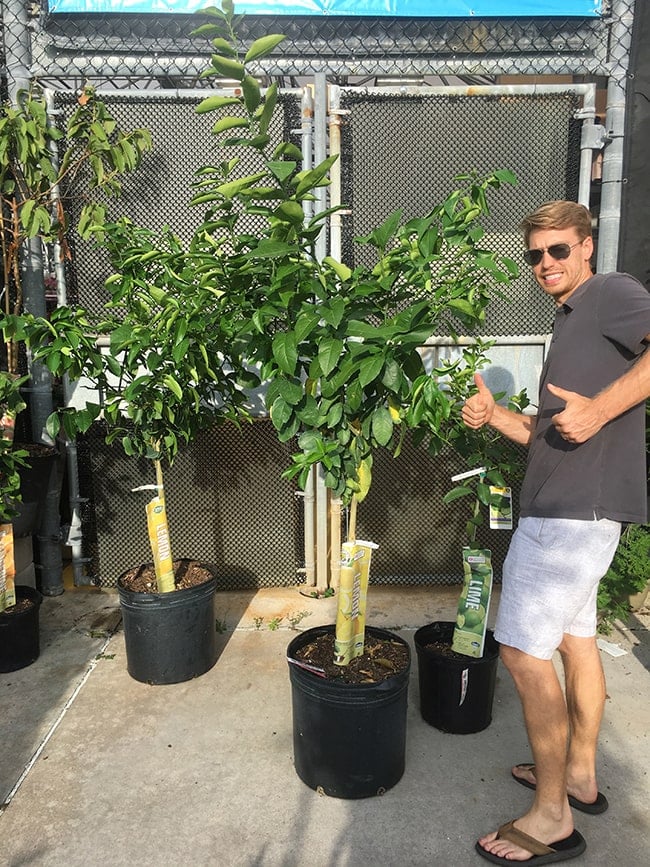
We also planted one in our yard at the Heights House, so hopefully between the two trees it won’t be long before we’re sipping homemade lemonade on the patio!
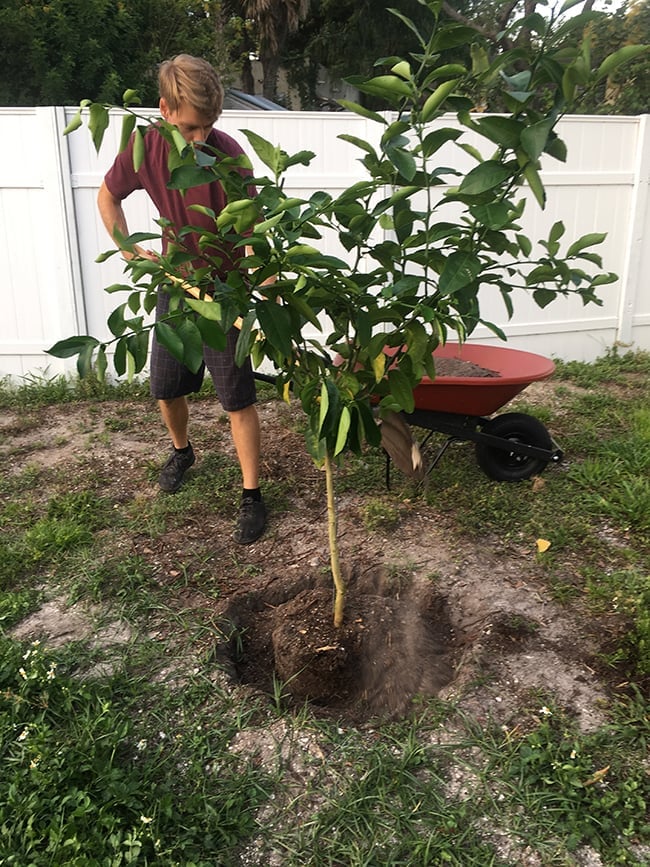
Back at home, we spent another evening planting our tree and shrubs.
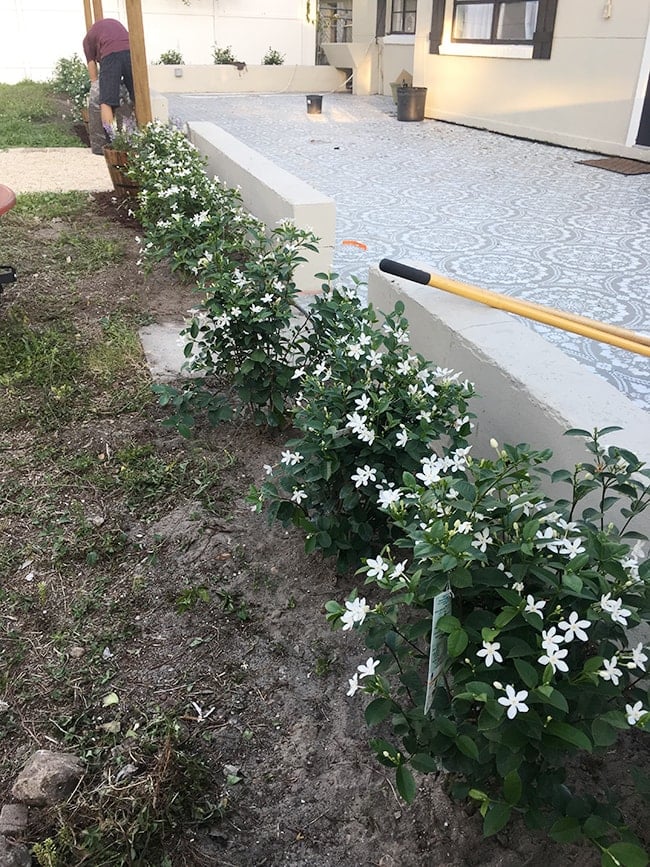
We also mulched (though we ran out and have to get a few more bags).
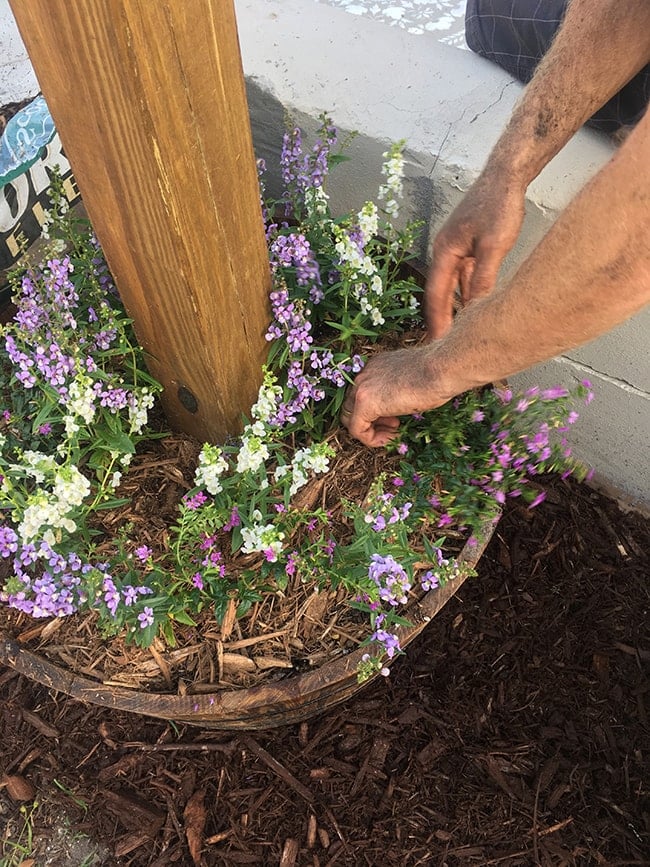
As of now there’s just a bit more landscaping, touchups and cleanup left to do back here (and of course my favorite part, decor and furniture!) but it already feels like a completely different backyard.


And certainly more inviting than it was earlier this year…
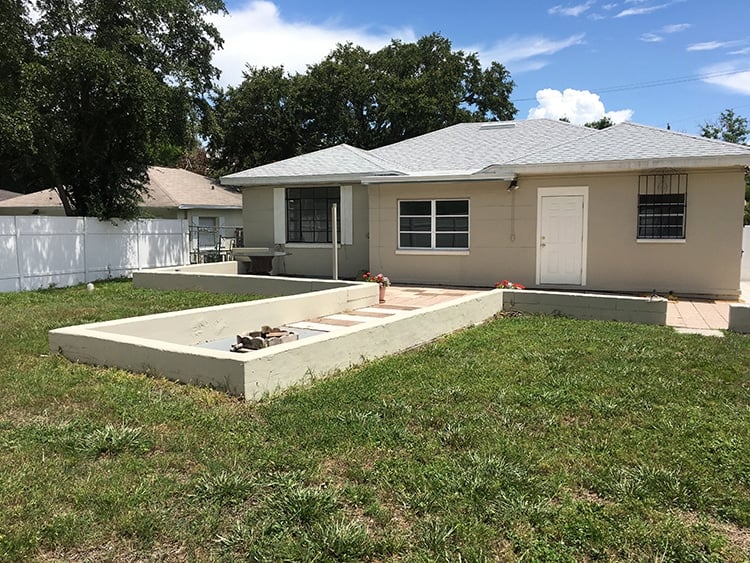
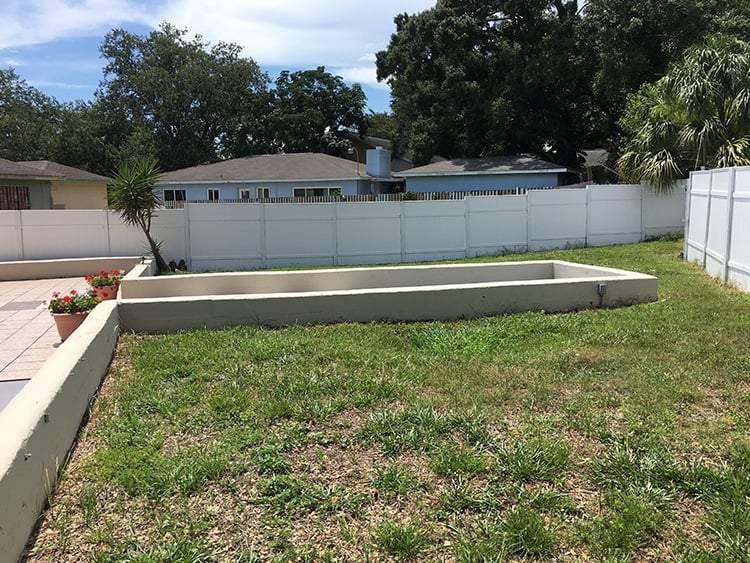
This is the first true DIY landscaping/backyard renovation either of us has attempted, and though it has taken longer than we’d hoped, I’m proud of what we’ve been able to do on our own with a limited budget and no gardening skills.


The next few days will be focused on completing this yard and adding furniture before the final photoshoot, so follow along for live updates on my Instagram stories, and stay tuned for the big reveal coming to the blog soon! Next week I have new Heights House updates to share, so be sure to check back then 🙂
Update: don’t miss the final reveal of the Riverside Retreat Backyard!
DIY String Light Planters
Equipment
- Drill
- Level
- Corner braces (optional)
Materials
- Large planters (we used 4 total)
- 4x4x8 outdoor posts (1 per planter)
- 2 bags fast setting concrete mix (per planter)
- String lights
- Cup hooks
- Potting mix
- Flowers
Instructions
- Stain/seal your 4×4 posts
- Center your post inside the planter and use corner braces to keep it in place while pouring the concrete (optional)
- Fill the planter with water and add concrete mix
- Make sure the post is level on all sides before the concrete sets
- Drill several holes into the planter above the concrete line for drainage
- Add rocks, potting mix and plants to the planter
- Attach cup hooks at the top of each planter
- Hang your string lights
If you like this project, check out these popular beginner budget DIYs from my Project Library!
- How to realistically age wood (the easy way!)
- $10 canvas floating frame
- Patio Stencil tutorial
- Board + Batten tutorial




Shilohlauren says
What size barrels did you use
chrysploit says
This is awesome!
Daniela Jackson says
Love the transformation! Question- I thought you had to wait a year before staining pressure treated wood?
Jenna Sue says
Hmm, maybe but I’ve never heard that before! I’ll take my chances 🙂
Sherri says
Gorgeous!!!
What type of gravel did you use and where did you get it from??
Jenna Sue says
We used pea gravel from a local landscape company, but Lowe’s sells individual bags of them too!
Linda Grubbs says
Nice job!!!!
Kayla aka Kilo Bravo says
I am really enjoying these easy-ish and cheaper projects around the rental house in general. I think we are definitely going to attempt this one this summer!
Joe G says
Looks great, but you should be careful, and more importantly advise using gloves when dealing with concrete. Took me awhile to realize but concrete/cement burns are a serious concern and personal production should be used!
Jenna Sue says
I did not know that, thanks for the heads up Joe! Guess I got lucky or just washed it off before it had a chance to dry.
Terri says
Perfection and beautiful, as always! I always like the beautification process best at my house! lol!
wizzer says
Just amazing….congratulations! Love the true DIY transformation.
FWIW, I would suggest painting the door trim from white to matching the house color so it seamlessly blends in more…my eye keeps getting stopped by it.
Ashley says
Water water water water! As we head into Summer your soil is going to dry out quickly in a container. Keep an eye on it as you may need daily watering until we get the summer showers!
Jenna Sue says
Oh yes, we’ve been soaking them every day! Looking forward to the daily thunderstorms to help out 😉
Colleen says
I have plans to work on my backyard this summer so thanks for the inspiration!!! Great job, it looks so inviting!
Ishra says
Beautiful! Could you show us where you plugged the lights in and how that looks?
Jenna Sue says
Right now they’re just plugged in via an extension cord on the side of the house, but we’re going to hardwire them in and add a switch later 🙂
Rebecca says
It looks so amazing!